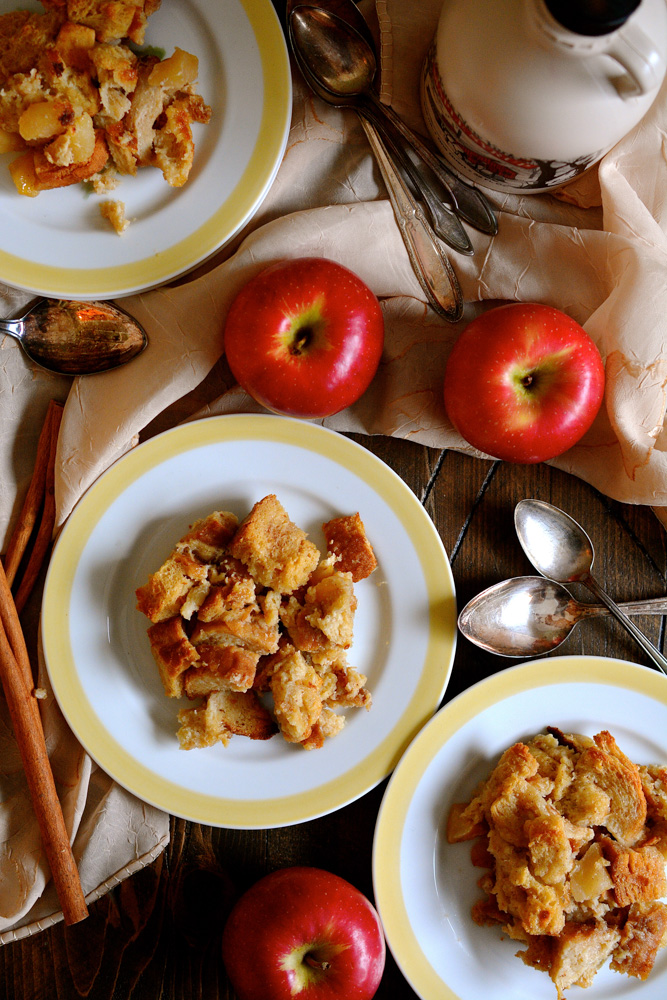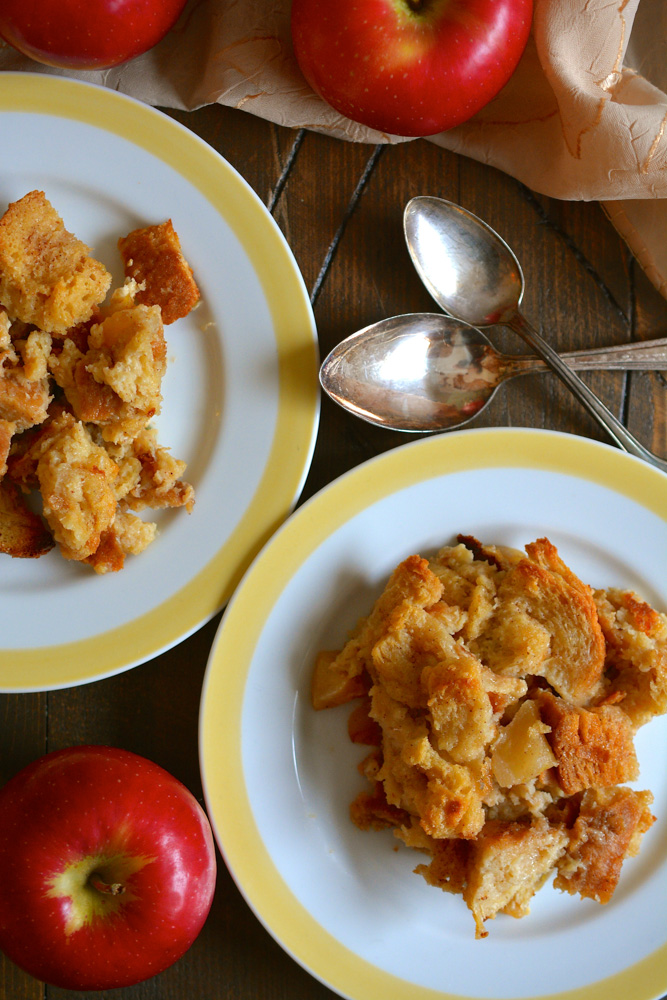
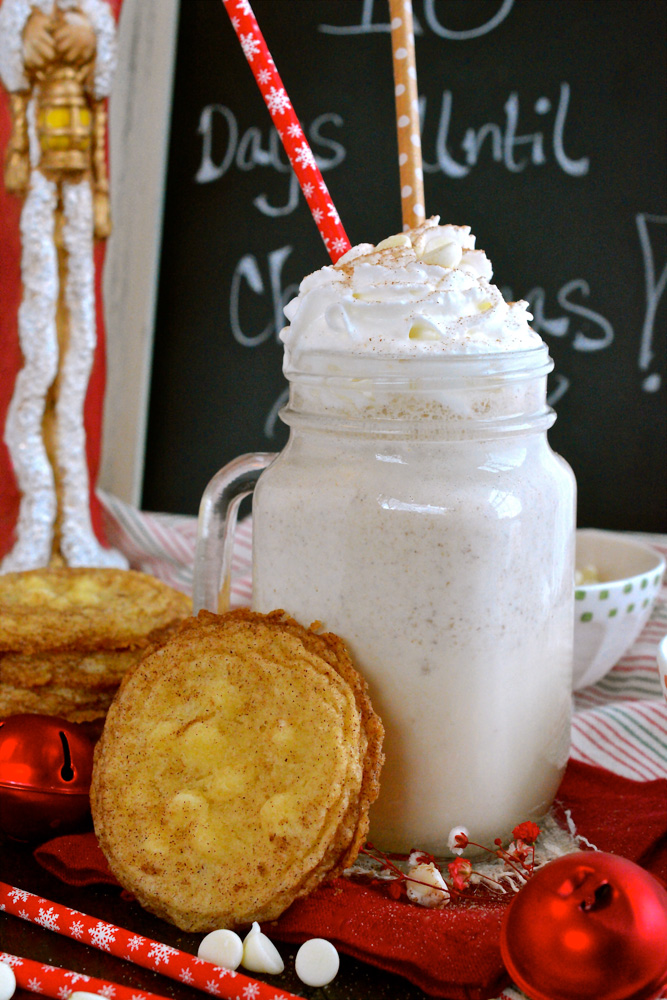
From classic Snickerdoodle Cookie to White Chocolate Snickerdoodle Milkshake, we’re talking make-over. And although changed in obvious ways, there’s no denying its buttery, cinnamon-y charms. A classic is a classic is a classic.
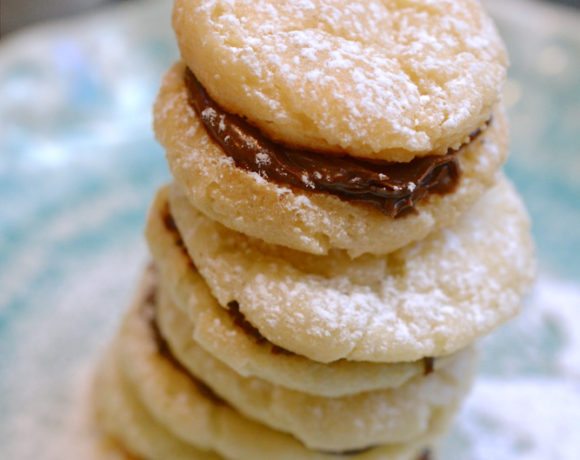
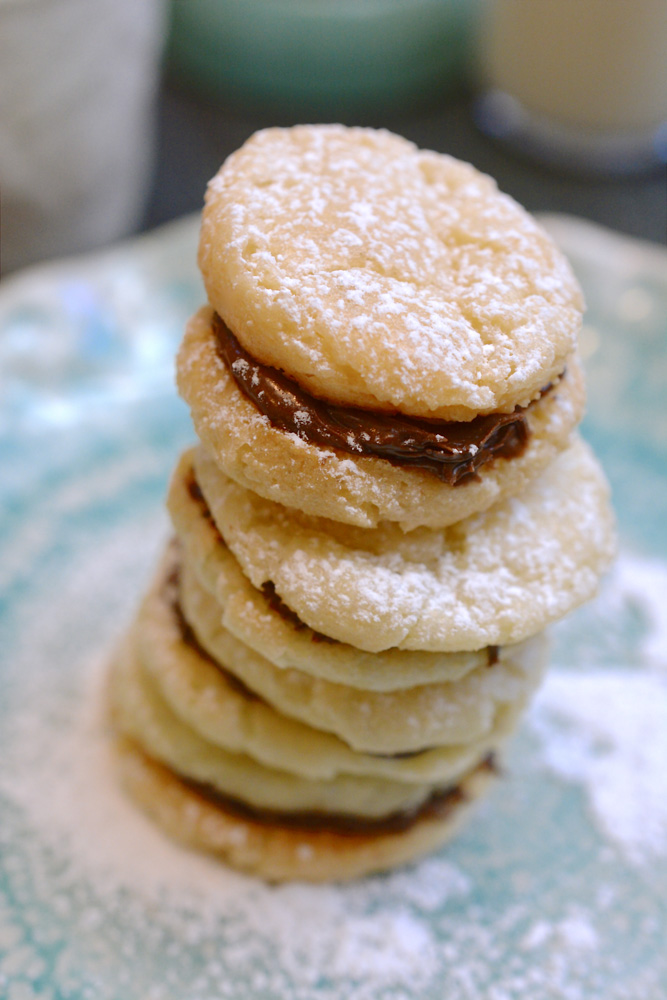
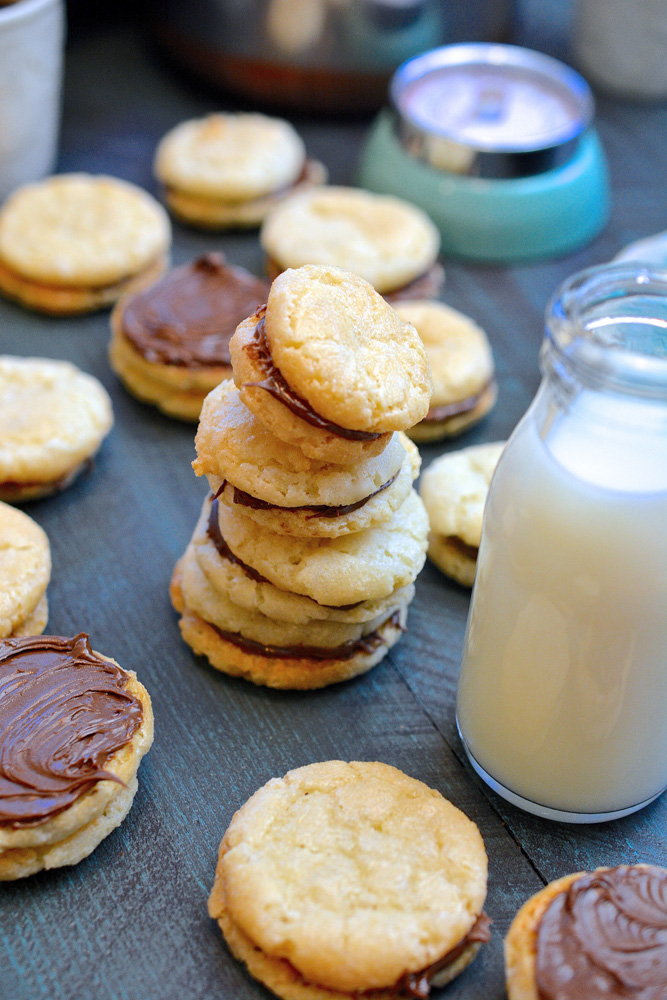
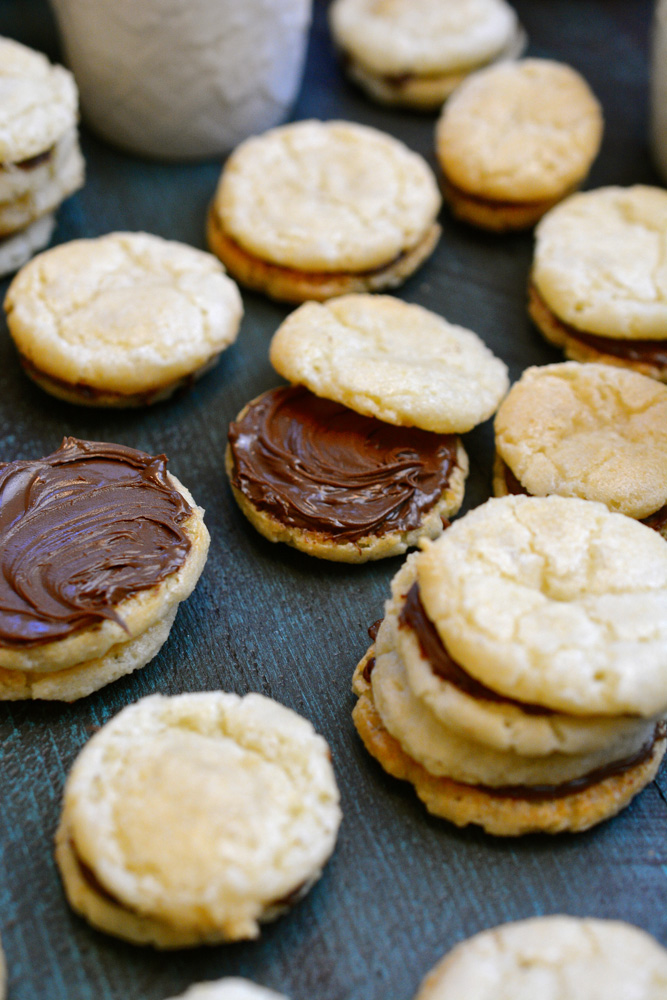
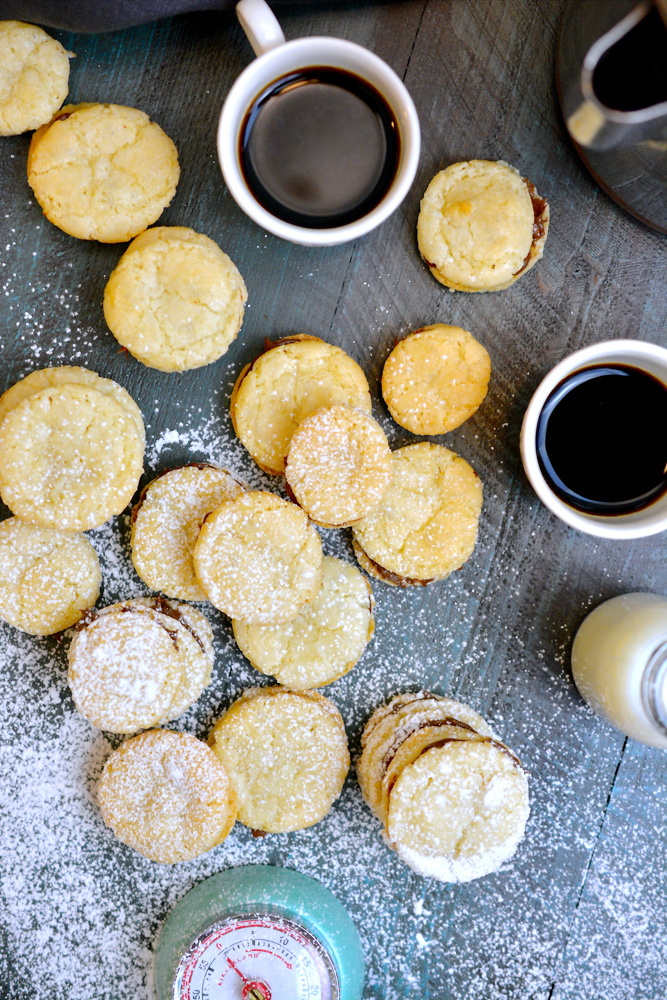
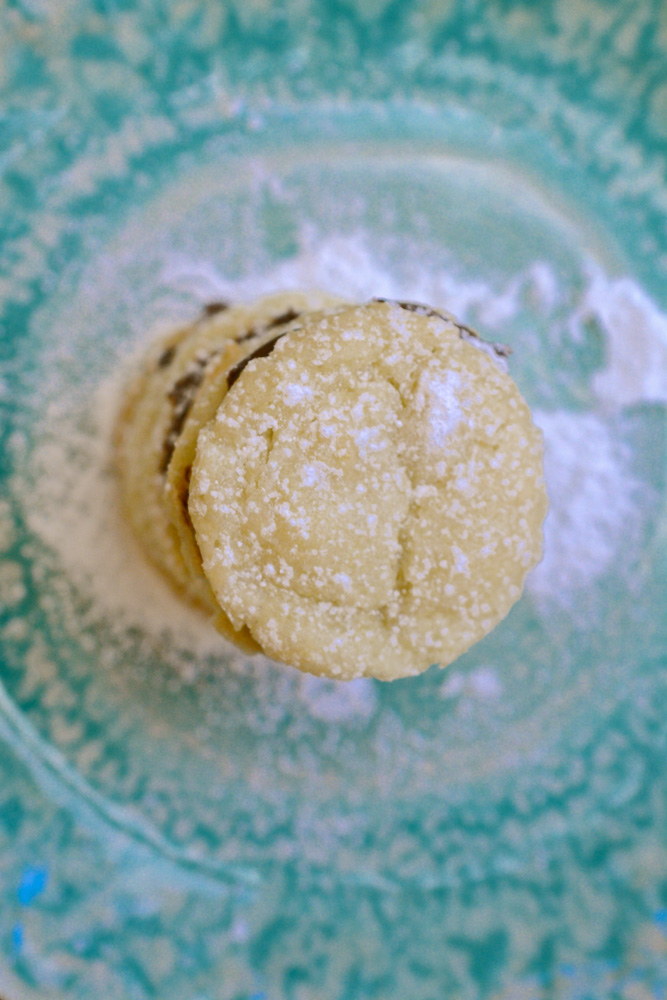
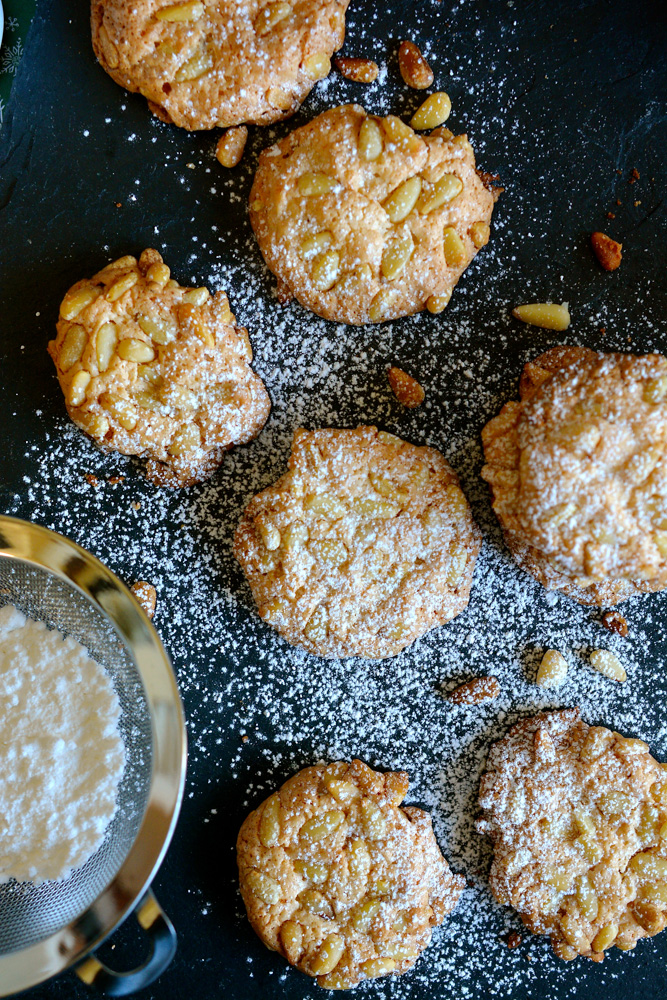
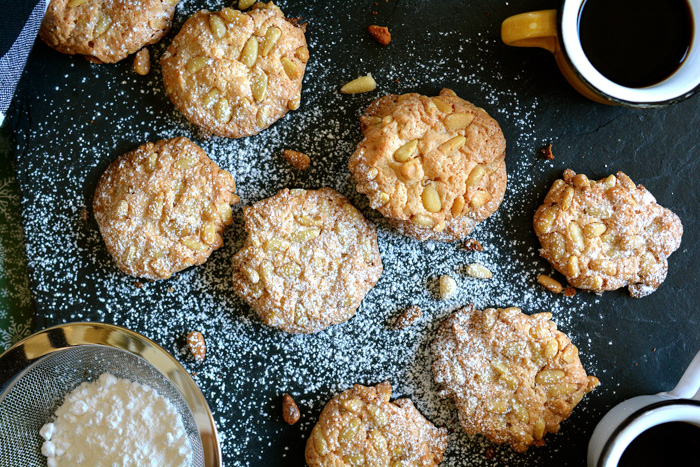
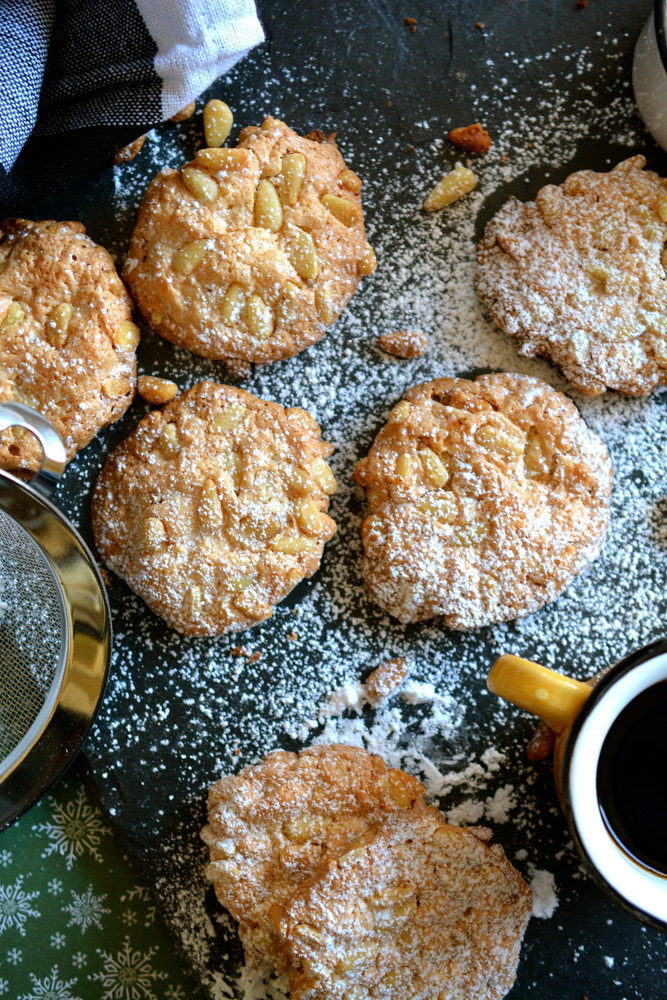
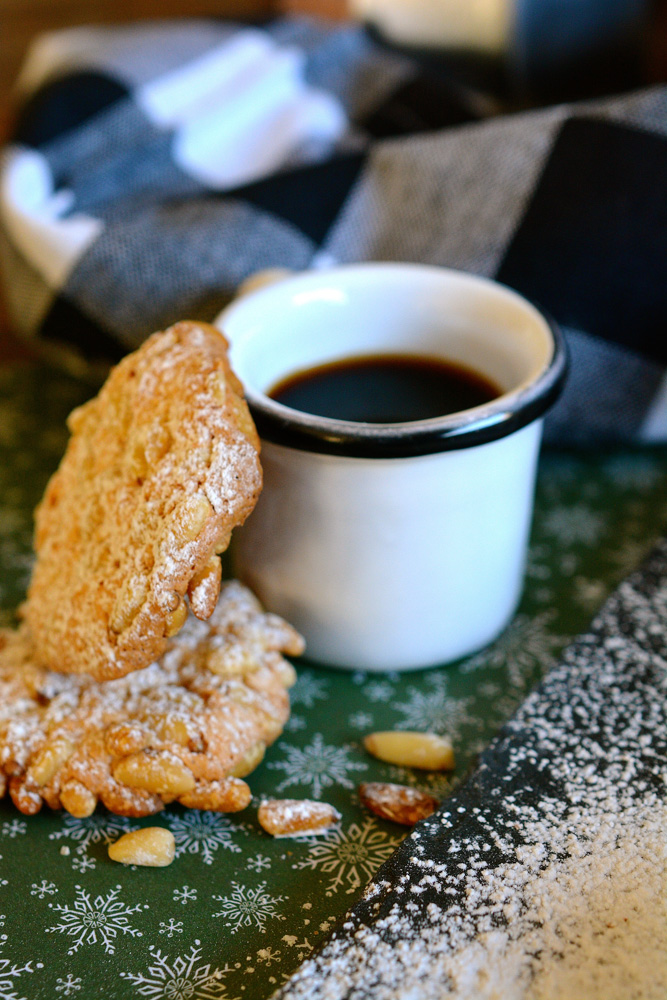
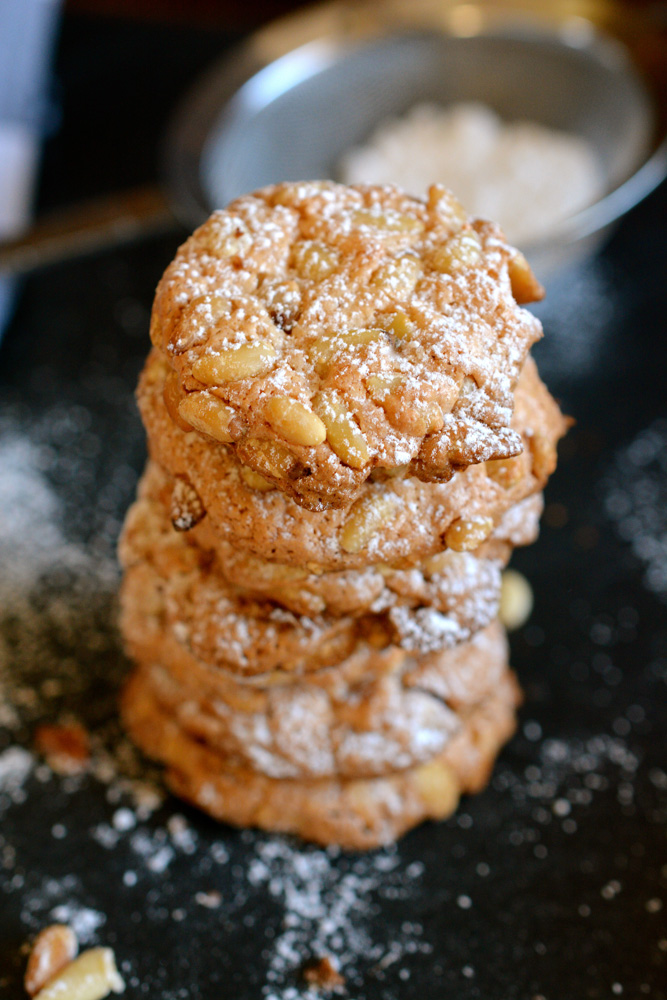
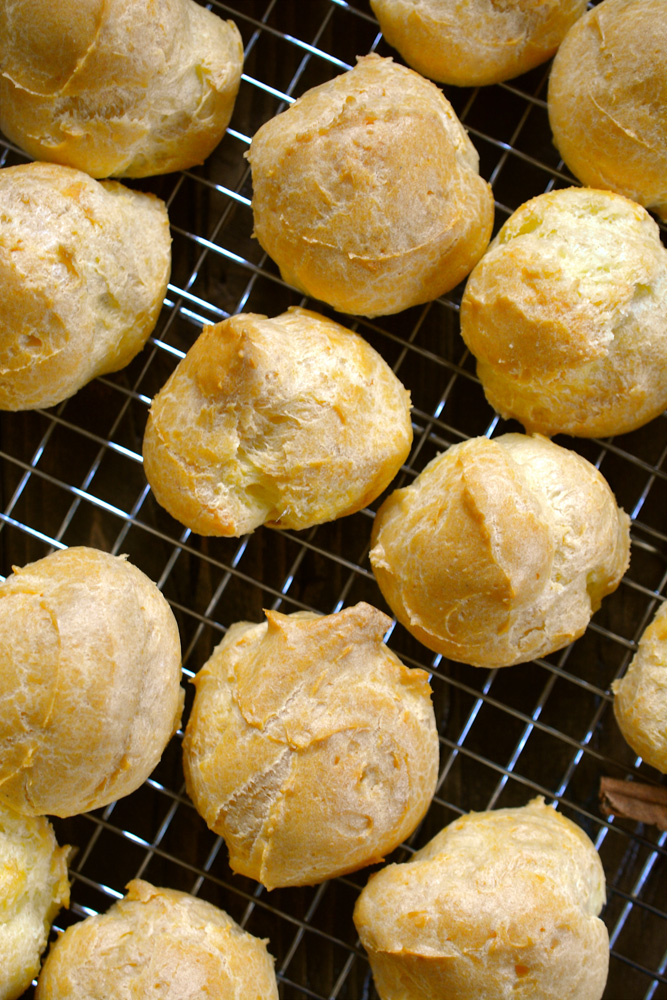
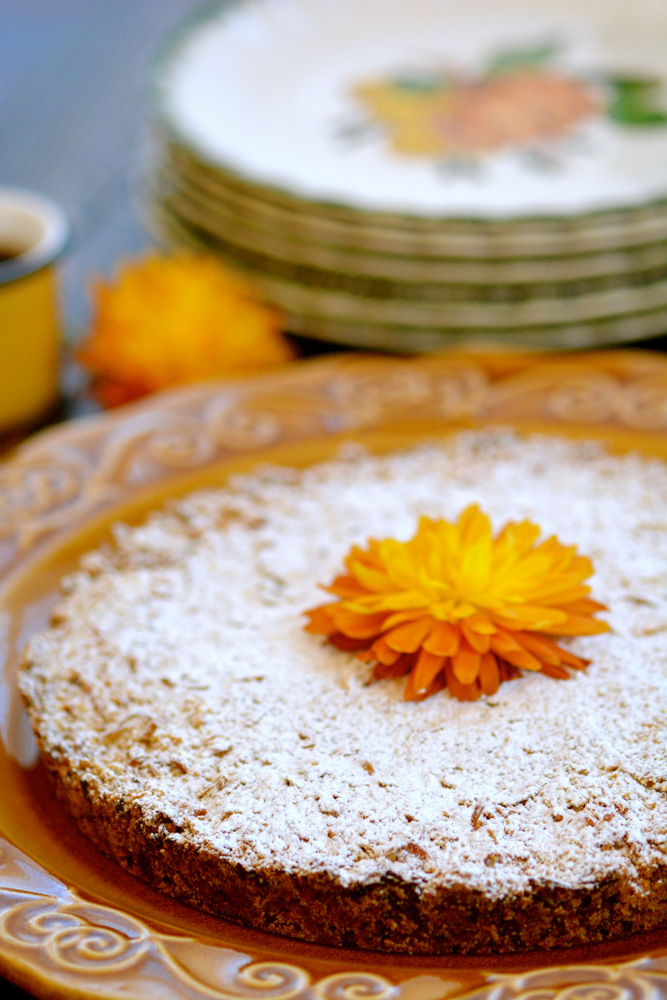
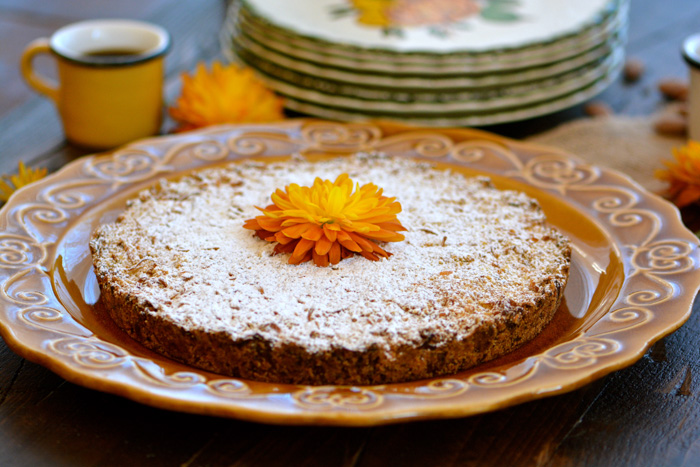
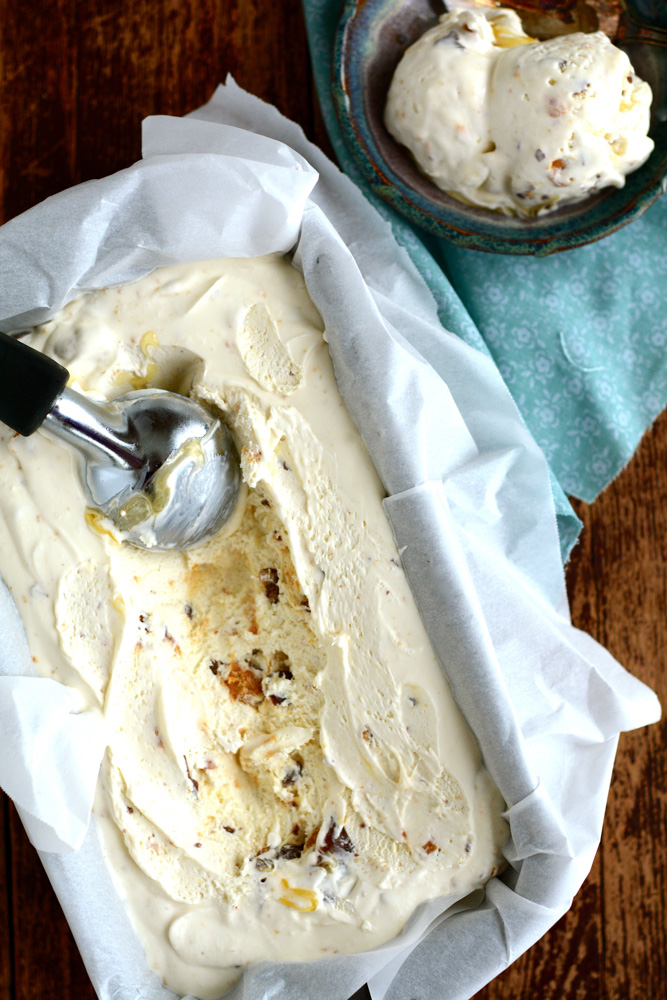
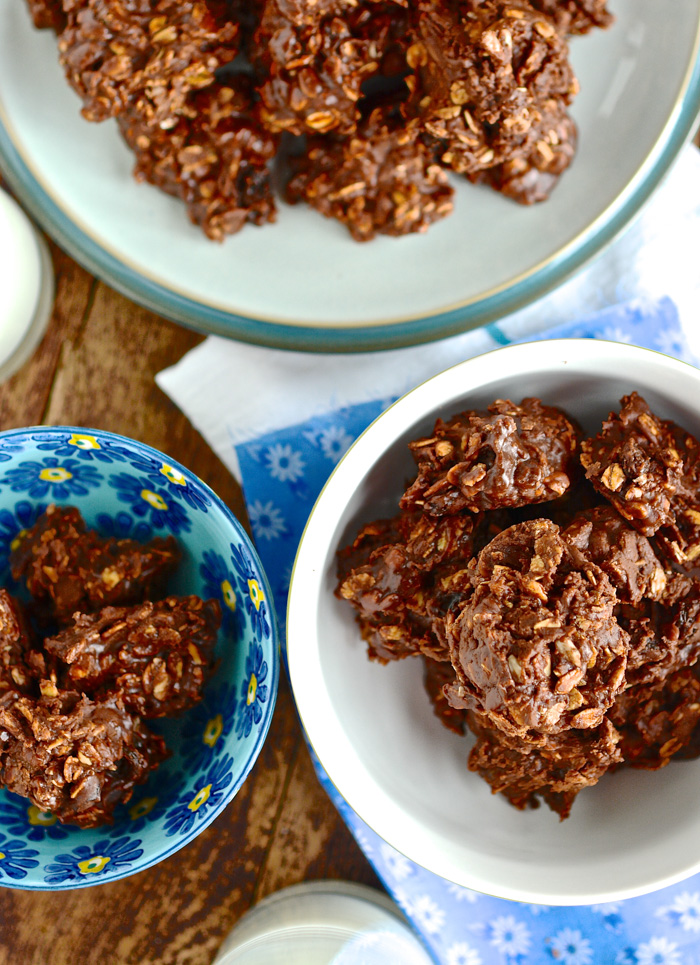
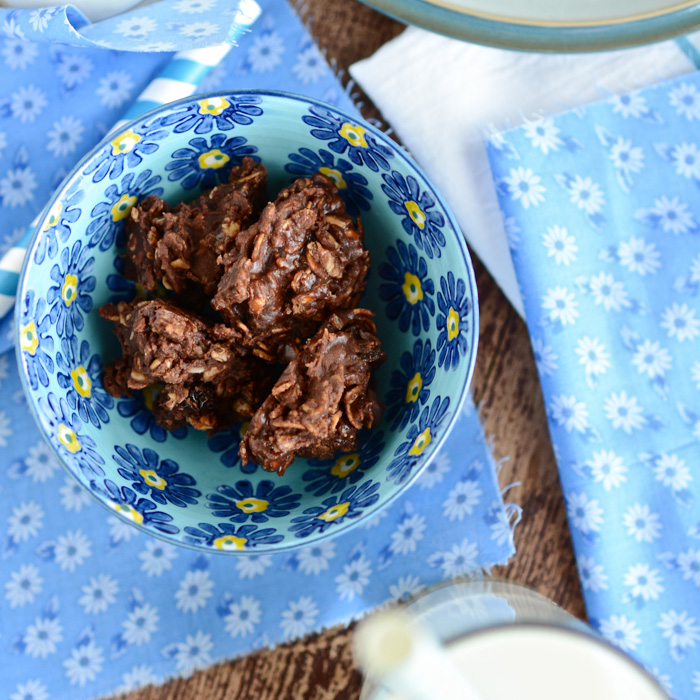
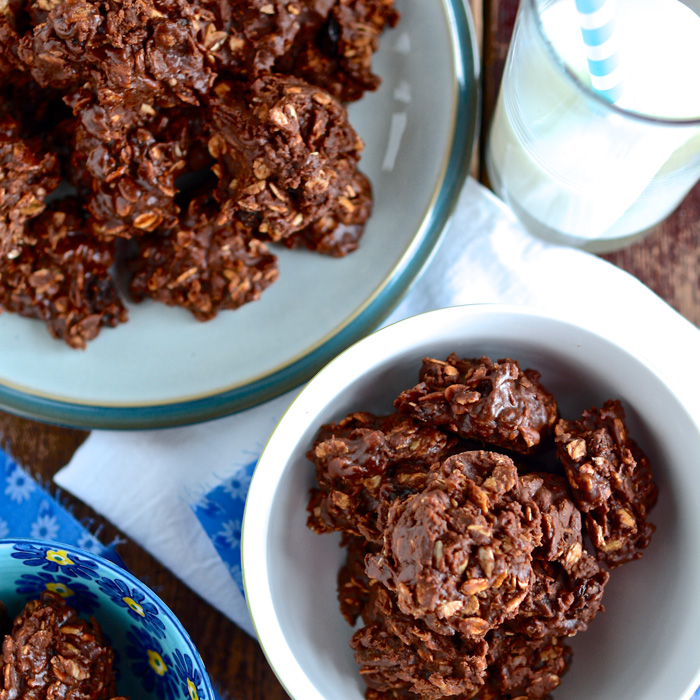
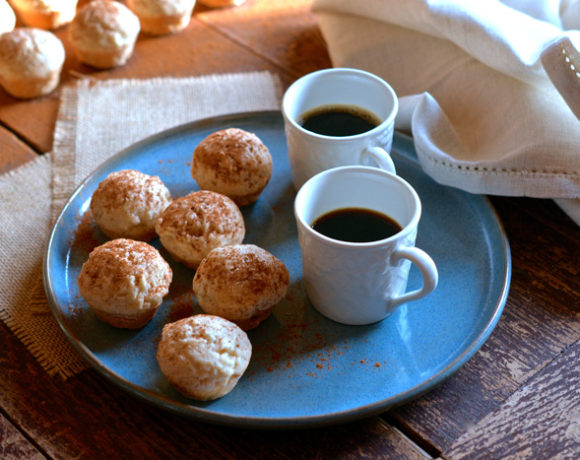
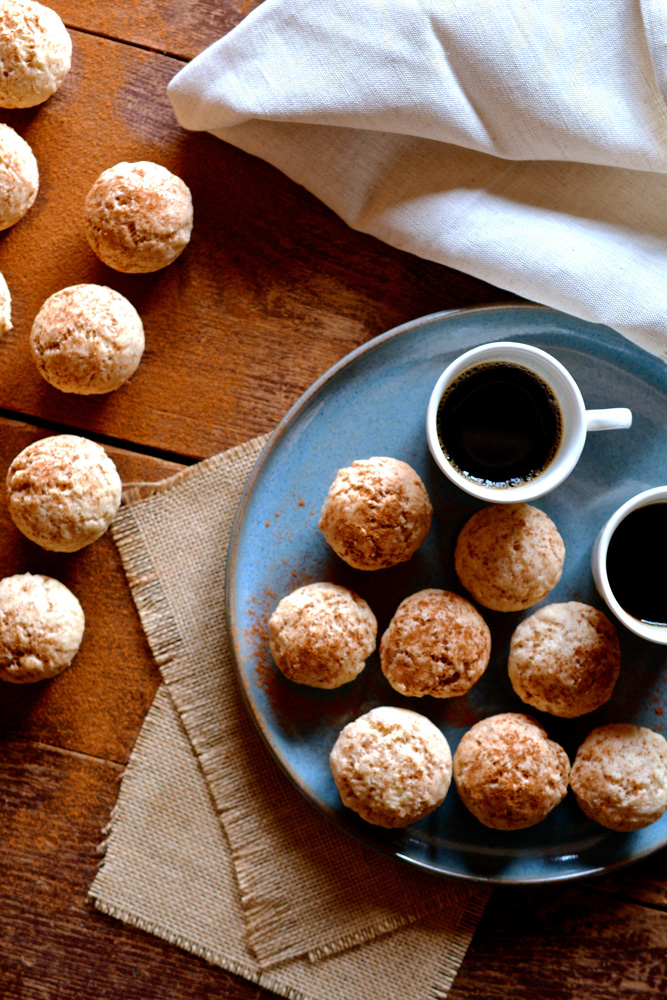
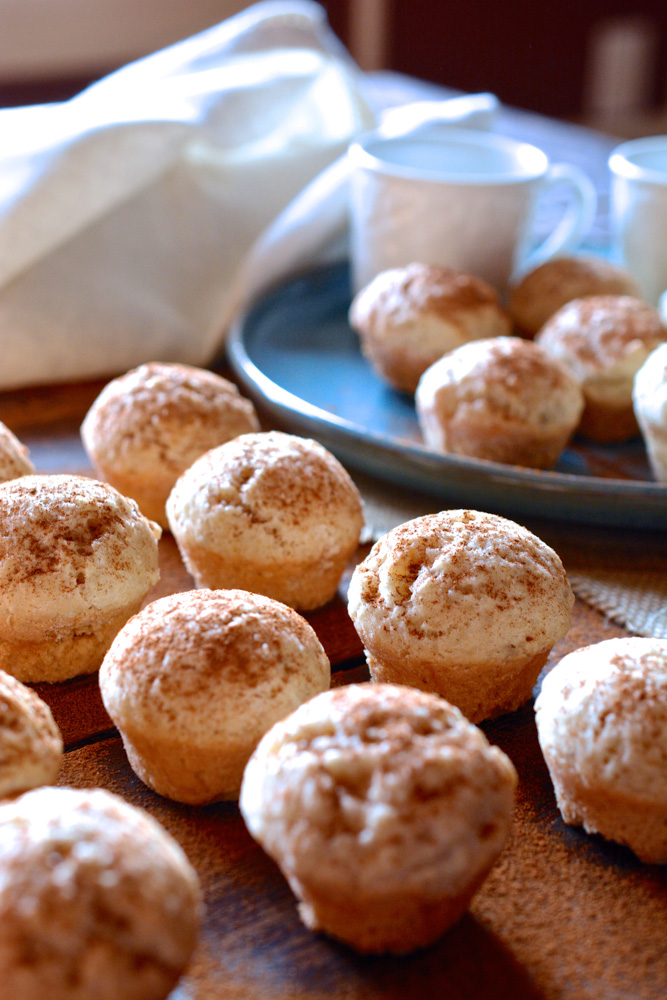
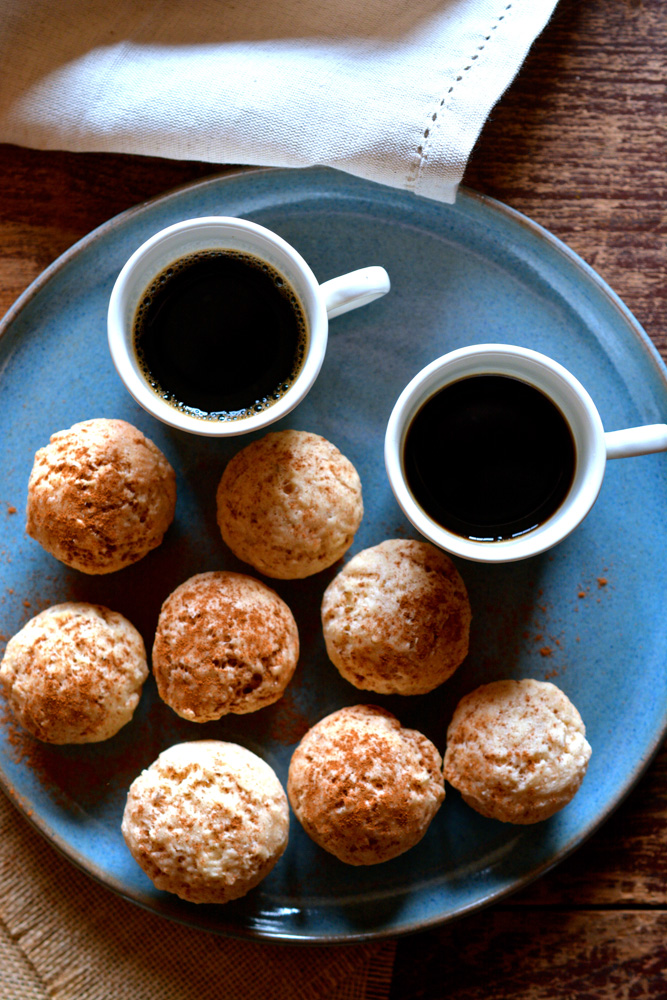
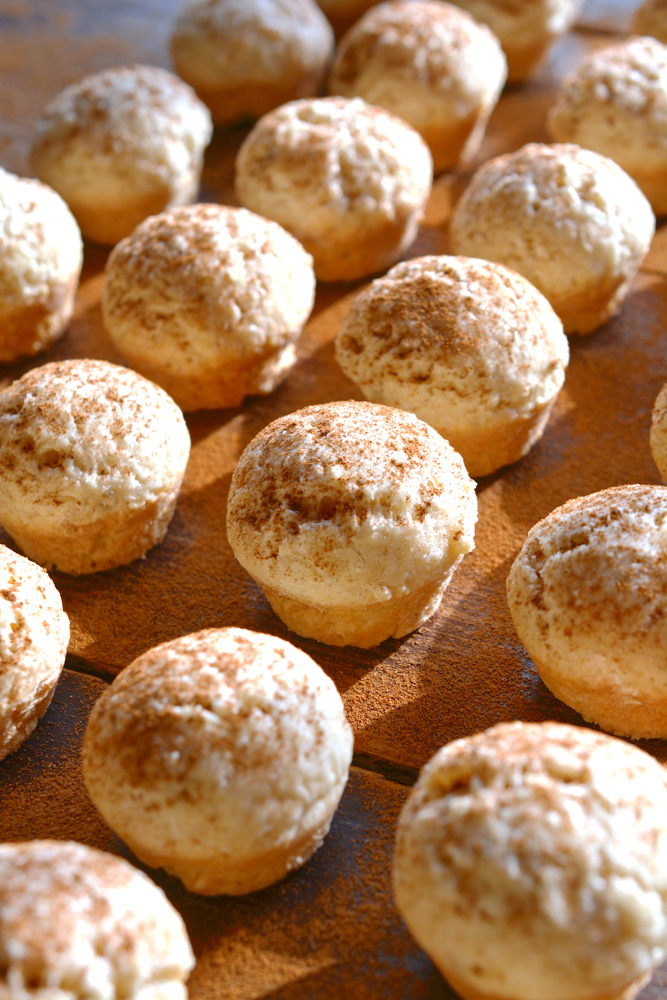
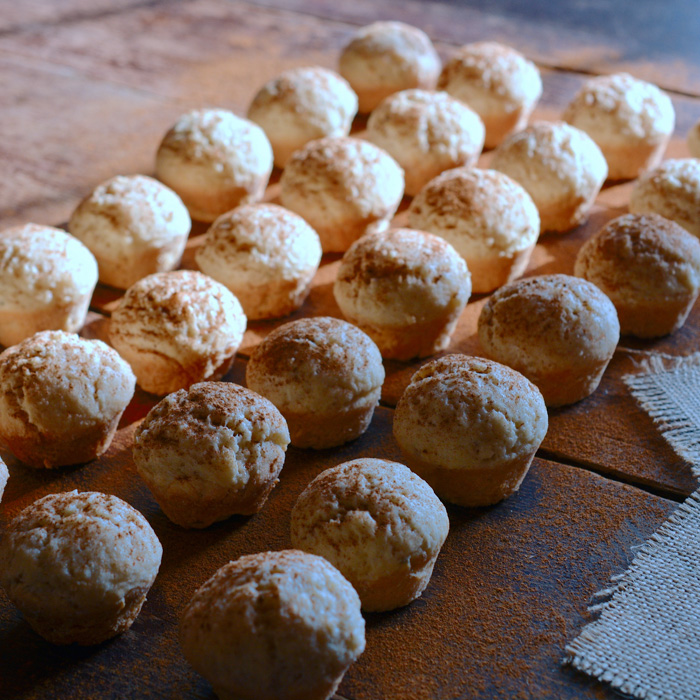
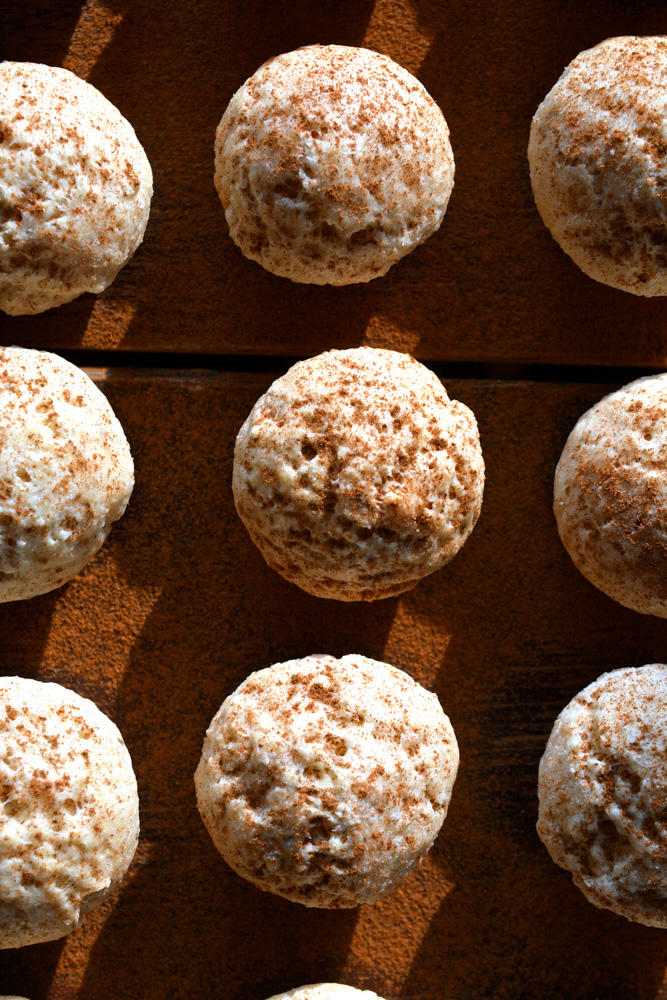
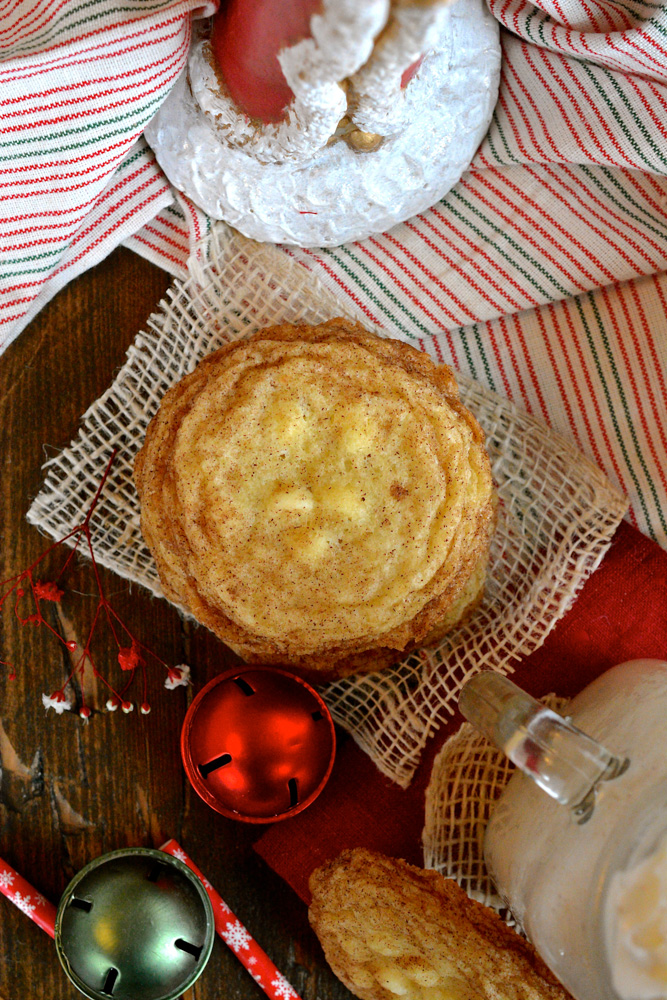
This old-fashioned New England favorite, with its crinkly top and light dusting of cinnamon sugar is a family favorite…one we’ve been making for years. And actually, it’s Luc who has put her mark on our favorite snickerdoodle – so puffy and delicious.
Written beneath our tried and true recipe in my antique copy of Joy Of Cooking Christmas Cookies, I have written a few things…6 /cookie sheet; 10 minutes; cooking with Chelsea 8/5/11 XO; and Lucy’s best cookie!! Every year when I dust off this little gem of a book, I am given this extraordinary gift. Like unwrapping a family heirloom ornament – my scribbled notes immediately transport me to those moments and memories that make my holiday special.
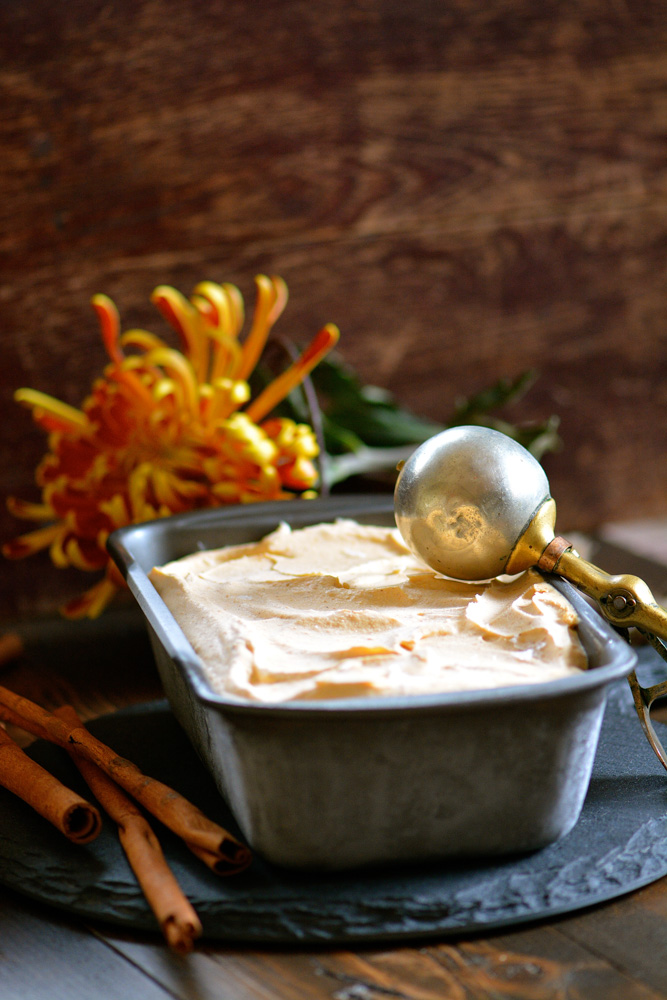
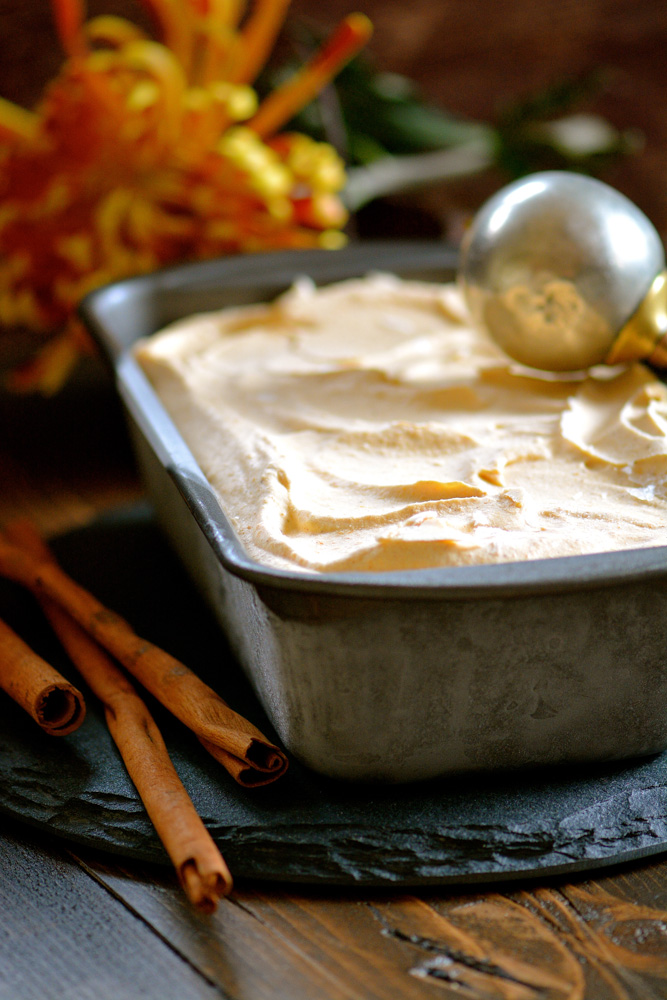
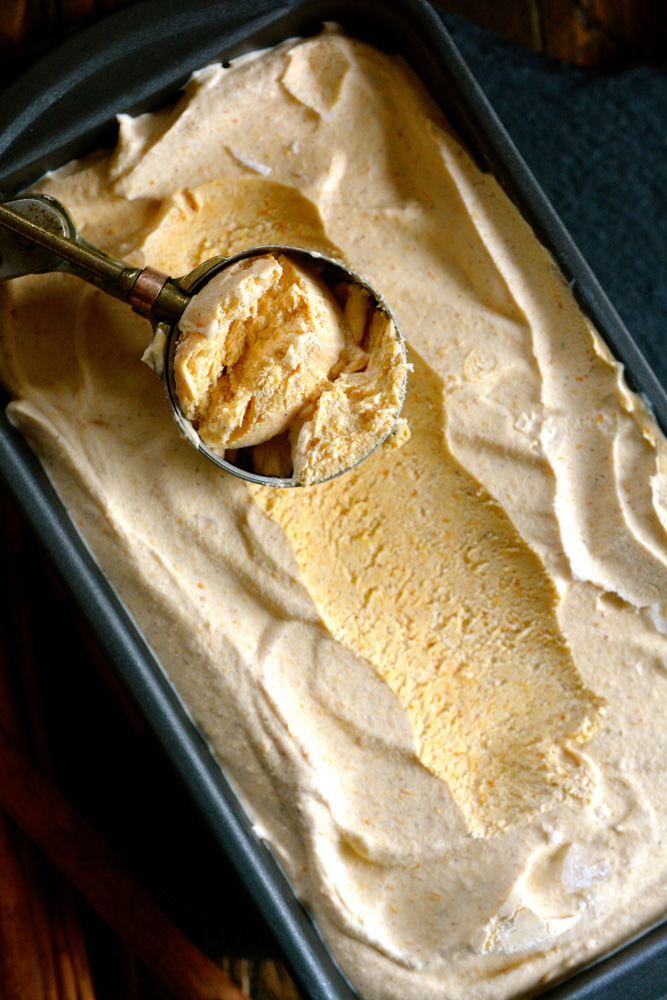
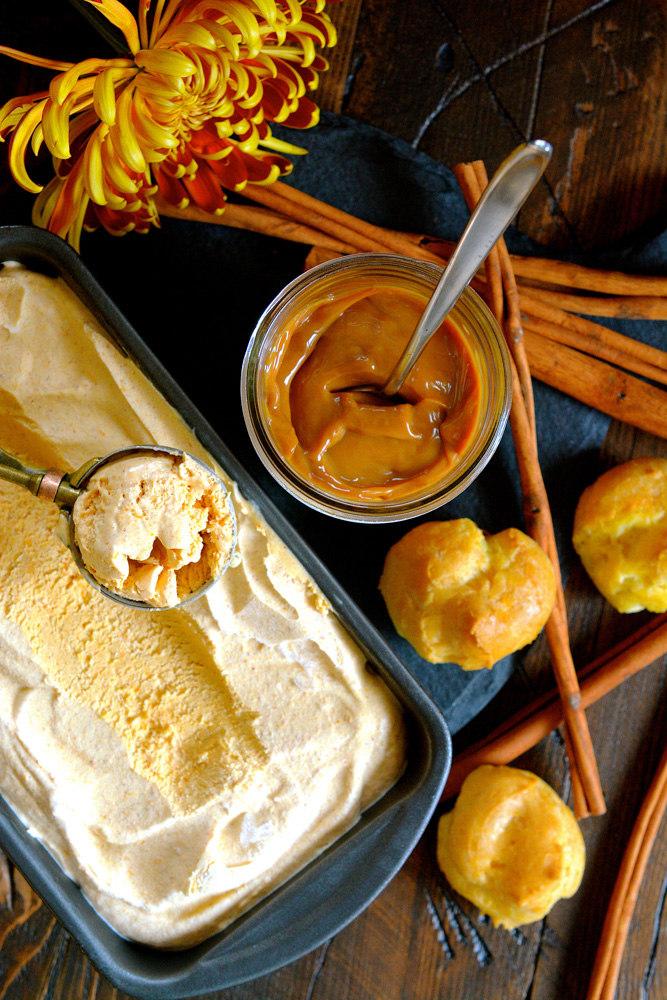
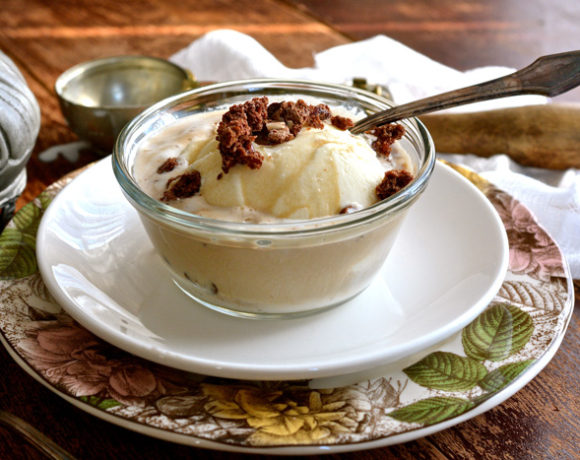
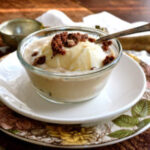
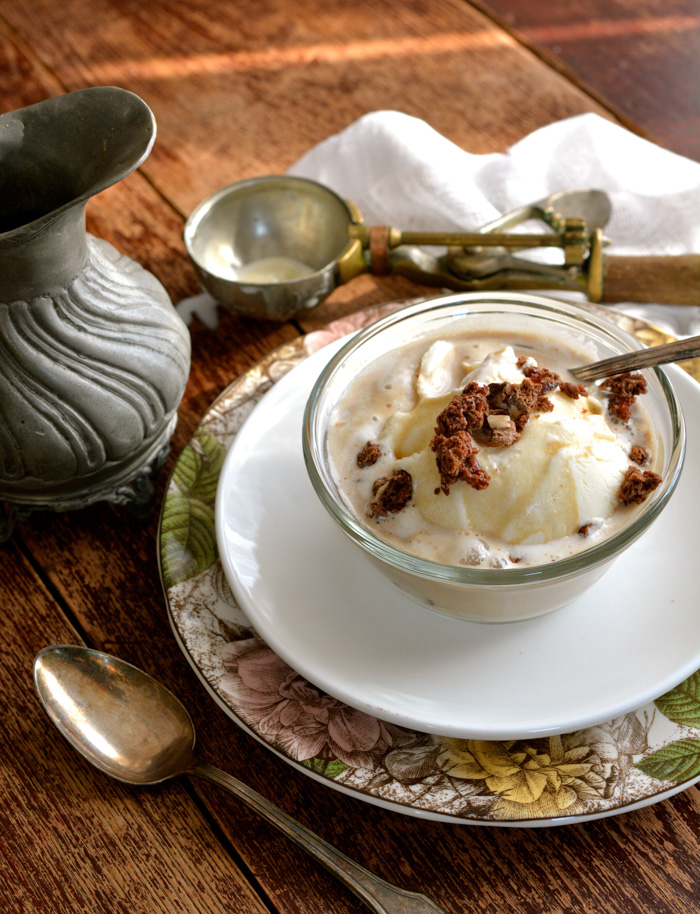
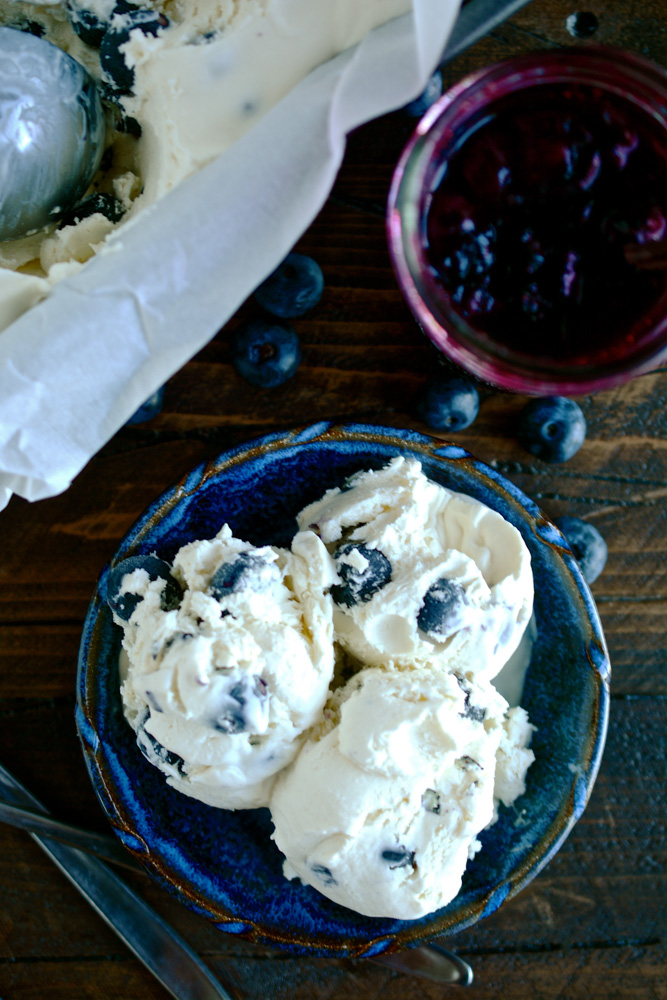
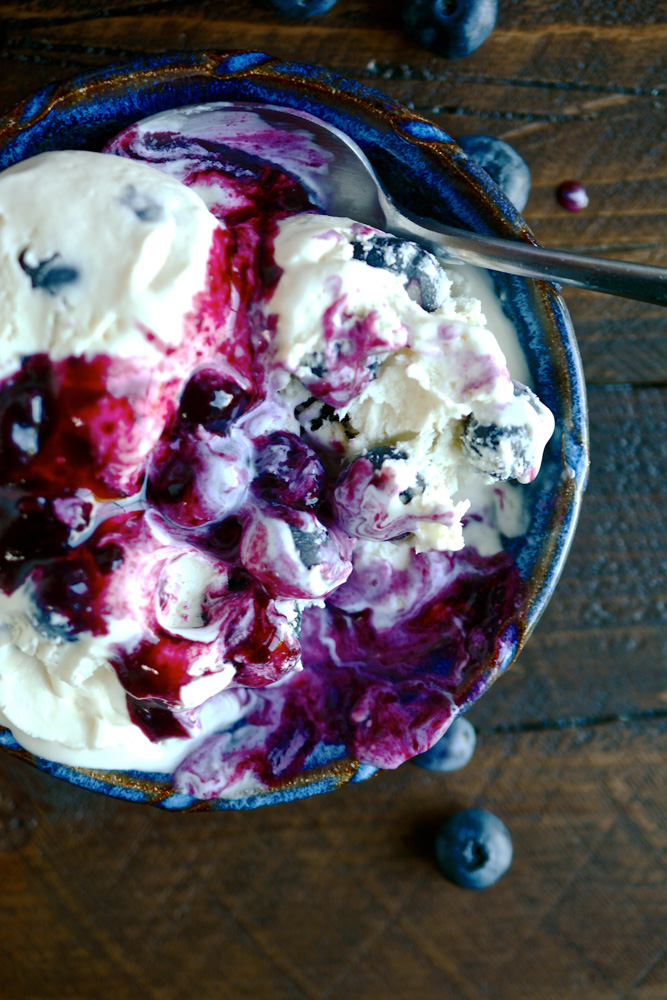
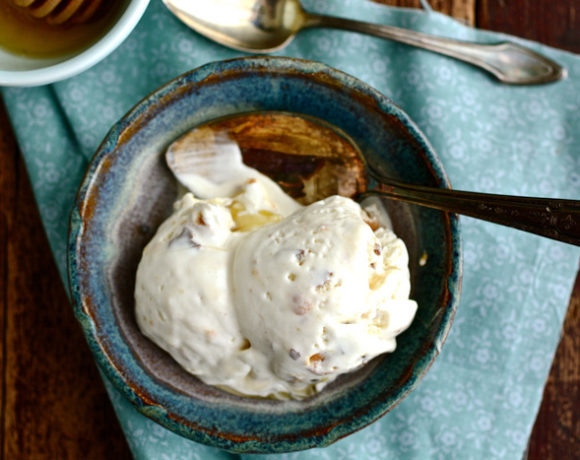
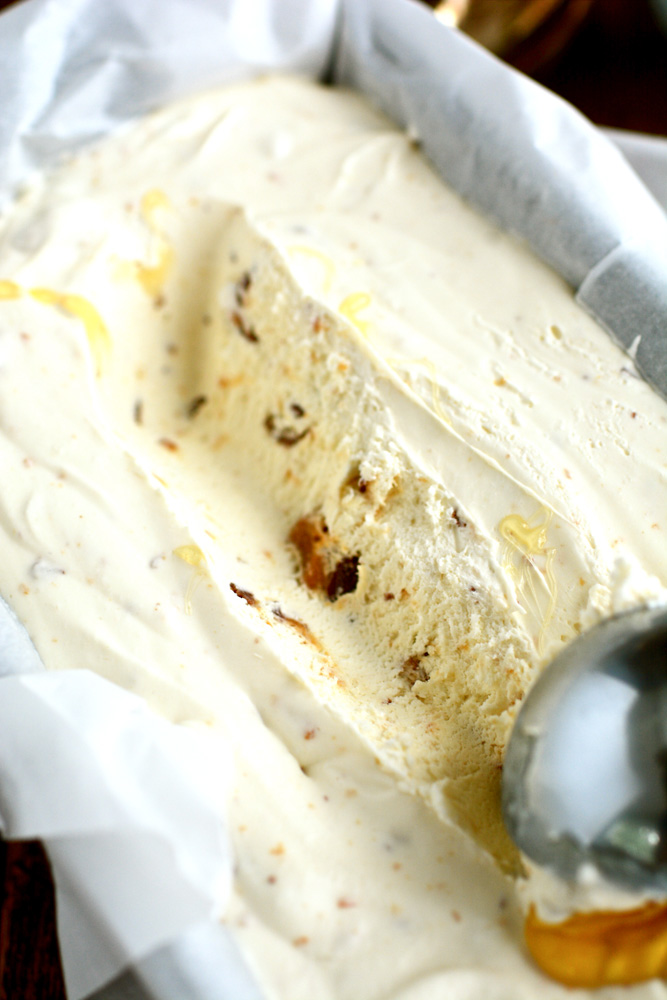
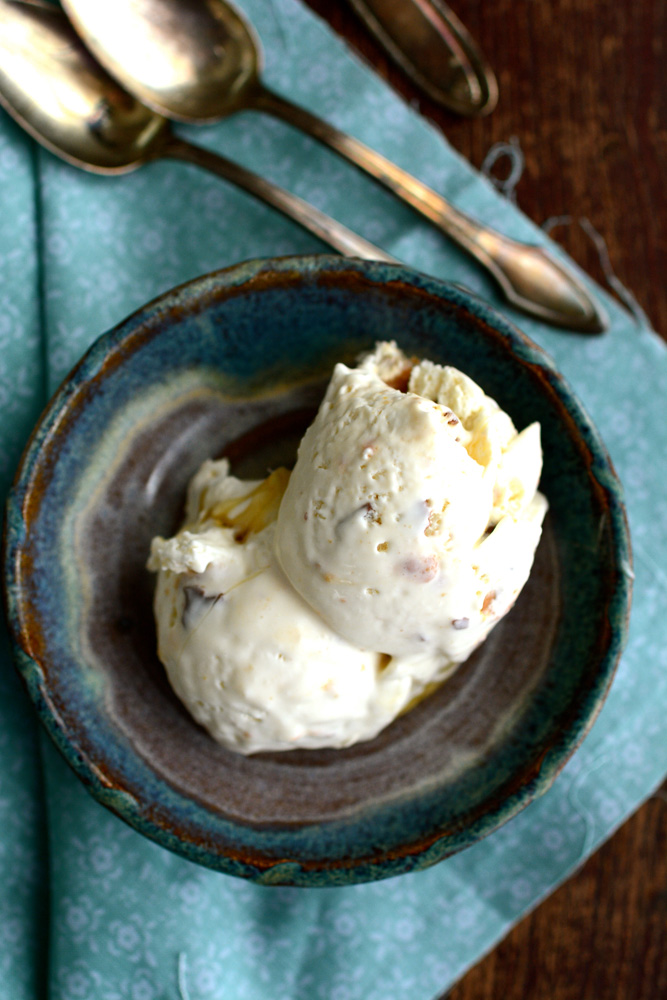
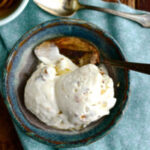
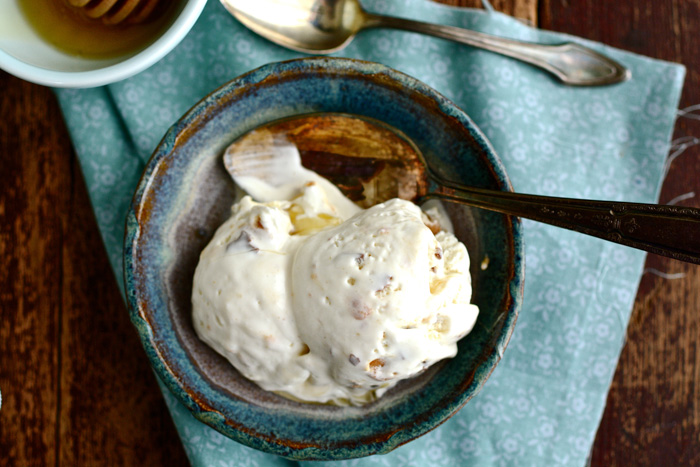
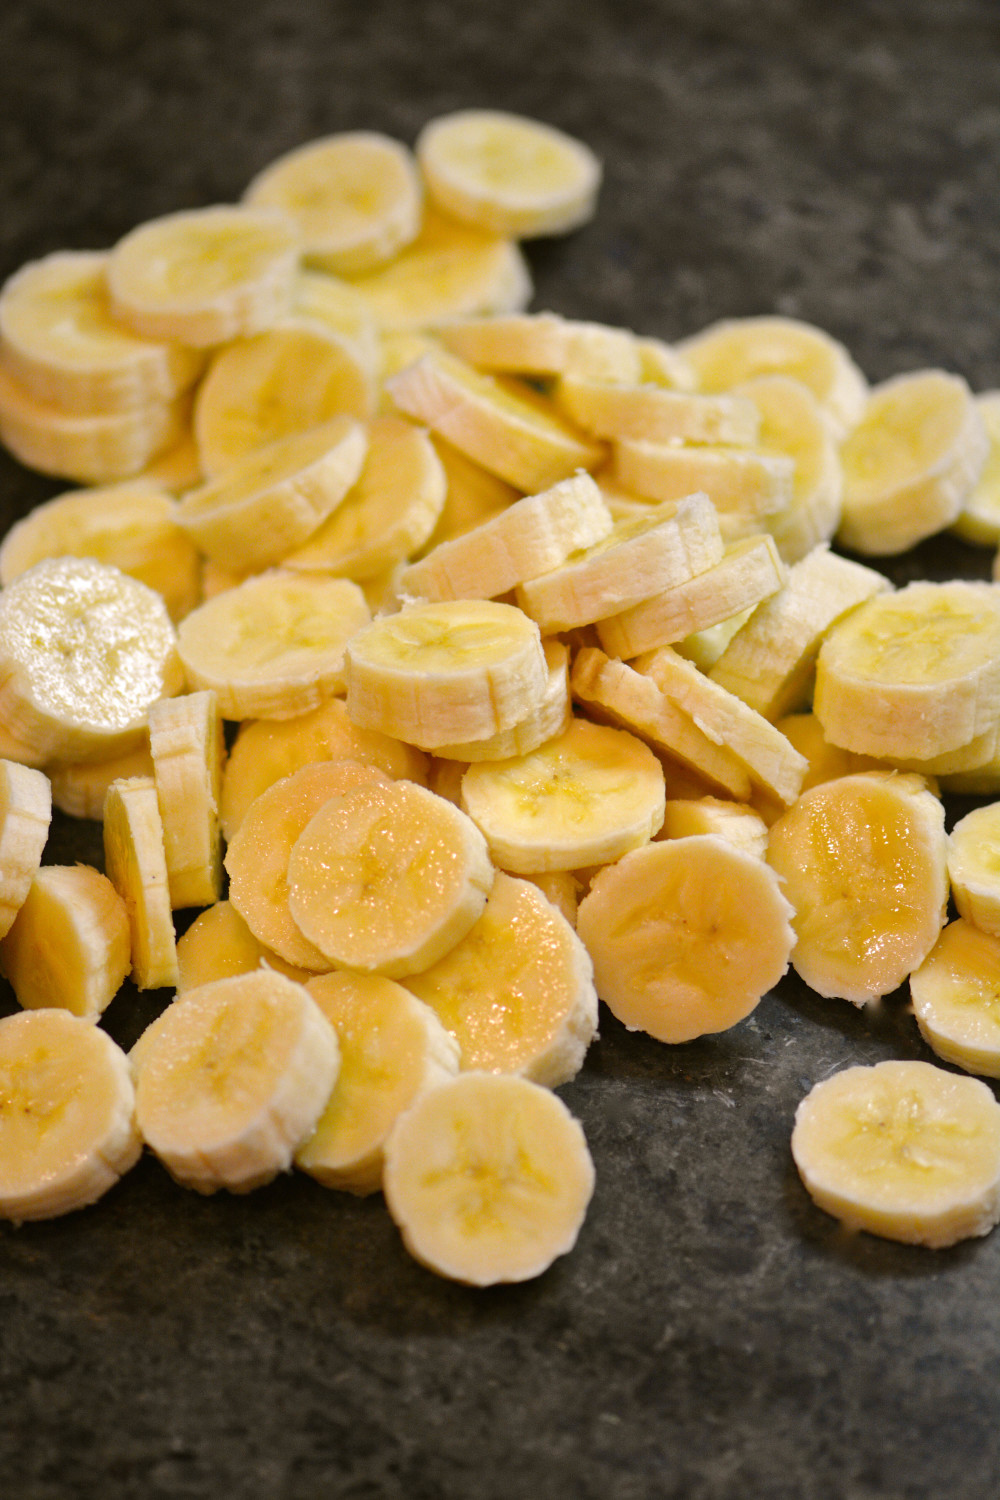
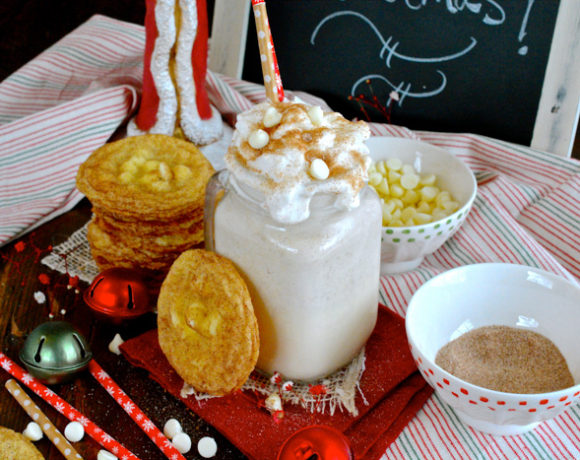
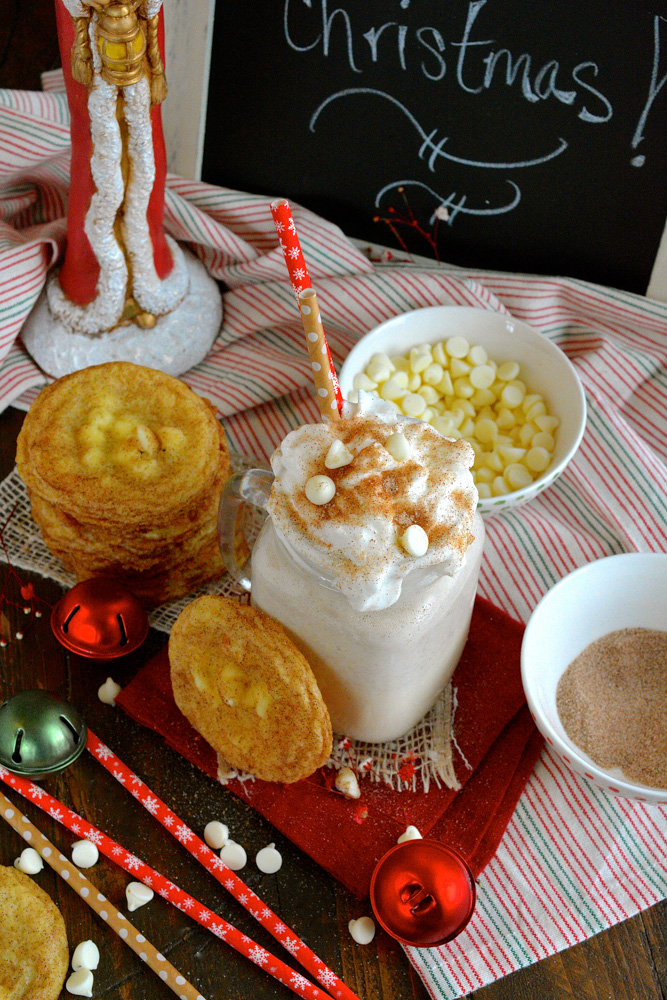
It’s rare that we make milkshakes at home but I couldn’t resist the decadent combination of white chocolate chip snickerdoodles and creamy vanilla ice cream with a generous splash of whole milk. Hey – it’s the holidays…
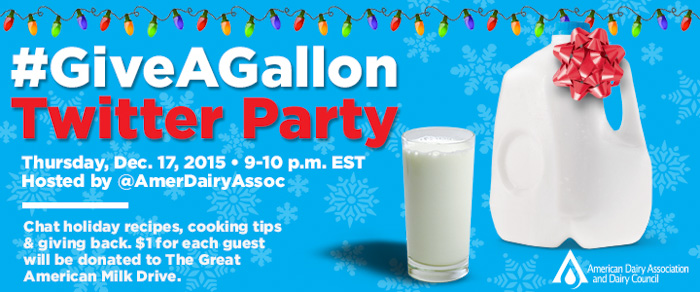
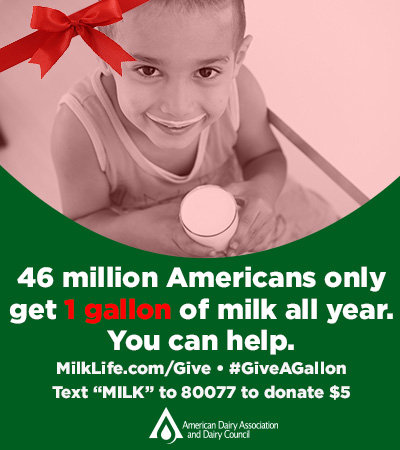
And speaking of holidays, I wanted to take a moment to share with you a great cause that is going on right now called The Great American Milk Drive. Did you know that more than 46 million Americans – including 12 million children – rely on Feeding America food bank donations each year? And that milk is one of the most requested yet least donated items? On average, clients receive the equivalent of less than 1 gallon per person per year. It’s true that Americans are generous with canned and dry goods, but many don’t think to donate milk because it’s perishable which means that many families are missing out on so many health benefits and nutrients.
The Great American Milk Drive is about delivering thousands of gallons of milk to families who might otherwise go without.

And here’s where we can all help…
The American Dairy Association and Dairy Council has launched the #GiveAGallon Milk Challenge to raise awareness about hunger and the need for milk for families in need. Each time a photo is posted on Instagram, Twitter or Facebook of a person, group, or even a pet, sporting a milk moustache with the hashtag #GiveAGallon and texting “MILK” to 80077 now through Jan. 15, 2016, ADADC will donate $1 to feeding America’s Great American Milk Drive. This will continue until $25,000 is donated.
Which means…not only is sporting a milk moustache a cool and happening look…it’s also helping a lot of folks in the process. Thanks for helping make a difference!
In true ADADC spirit, they’re hosting a party that you’re invited to!
I’m excited to share with you their invitation to join in on a Twitter party with me this Thursday, Dec. 17, from 9-10pm EST. For everyone who attends the party and uses #GiveAGallon, $1 will be donated to The Great American Milk Drive.
How awesome is that?
We’ll be sharing cooking tips, holiday recipes and ways to give back.
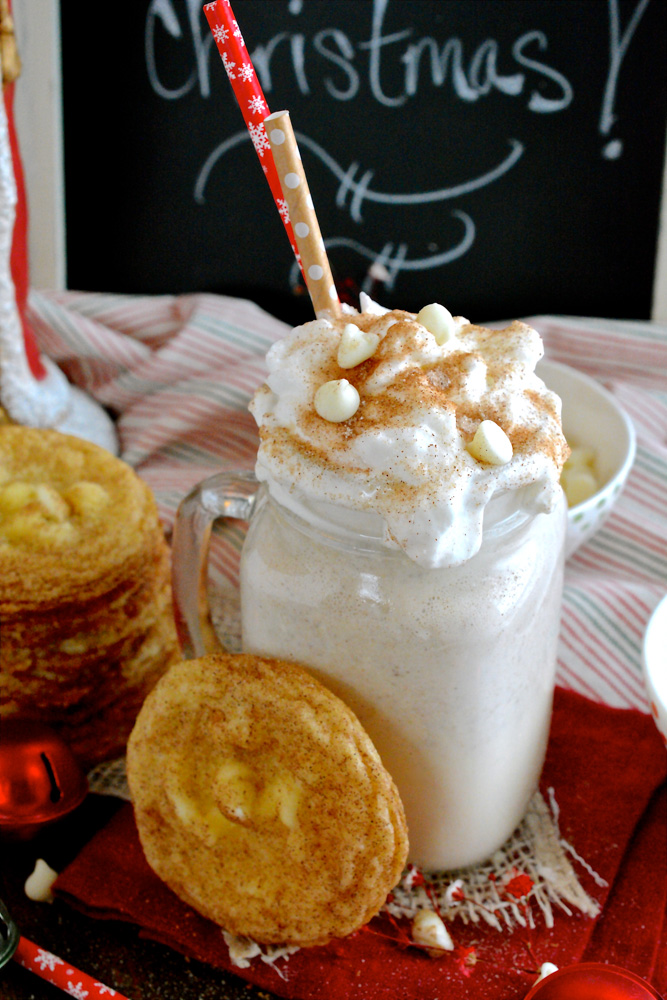
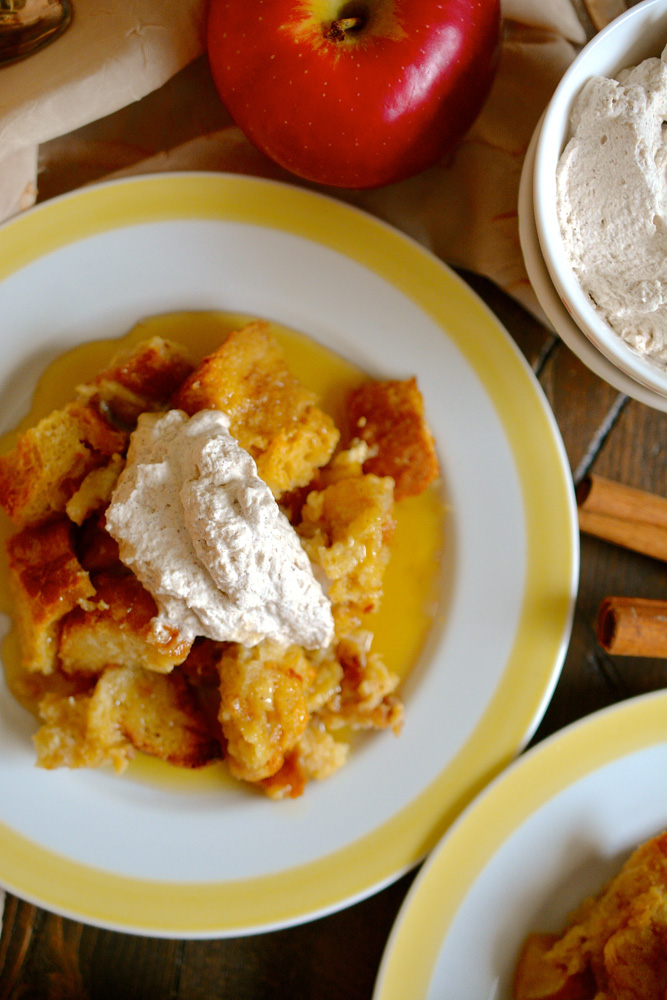
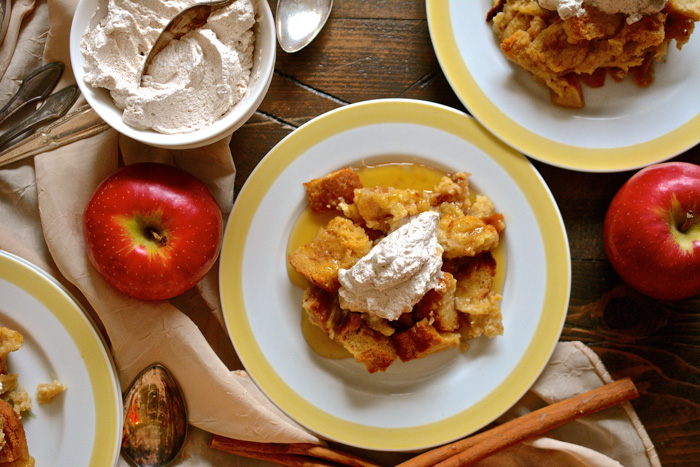
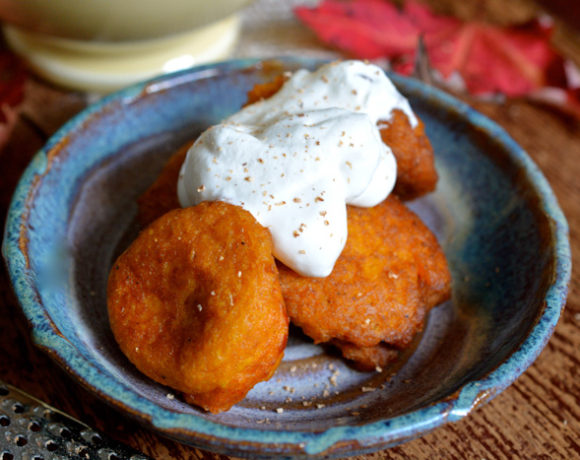
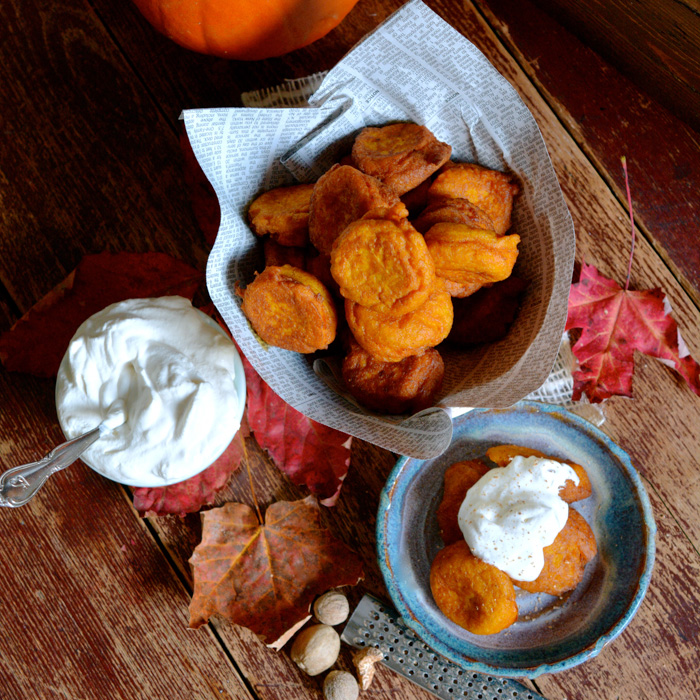
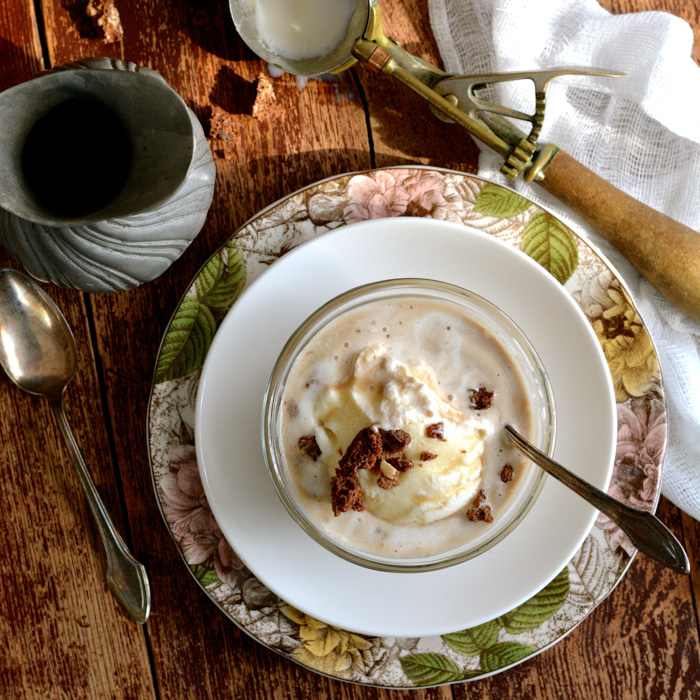
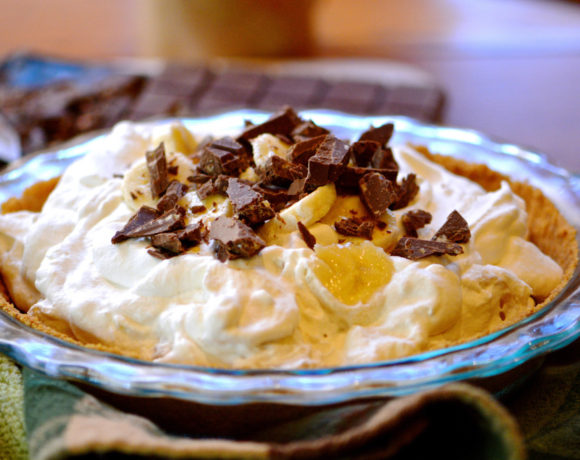
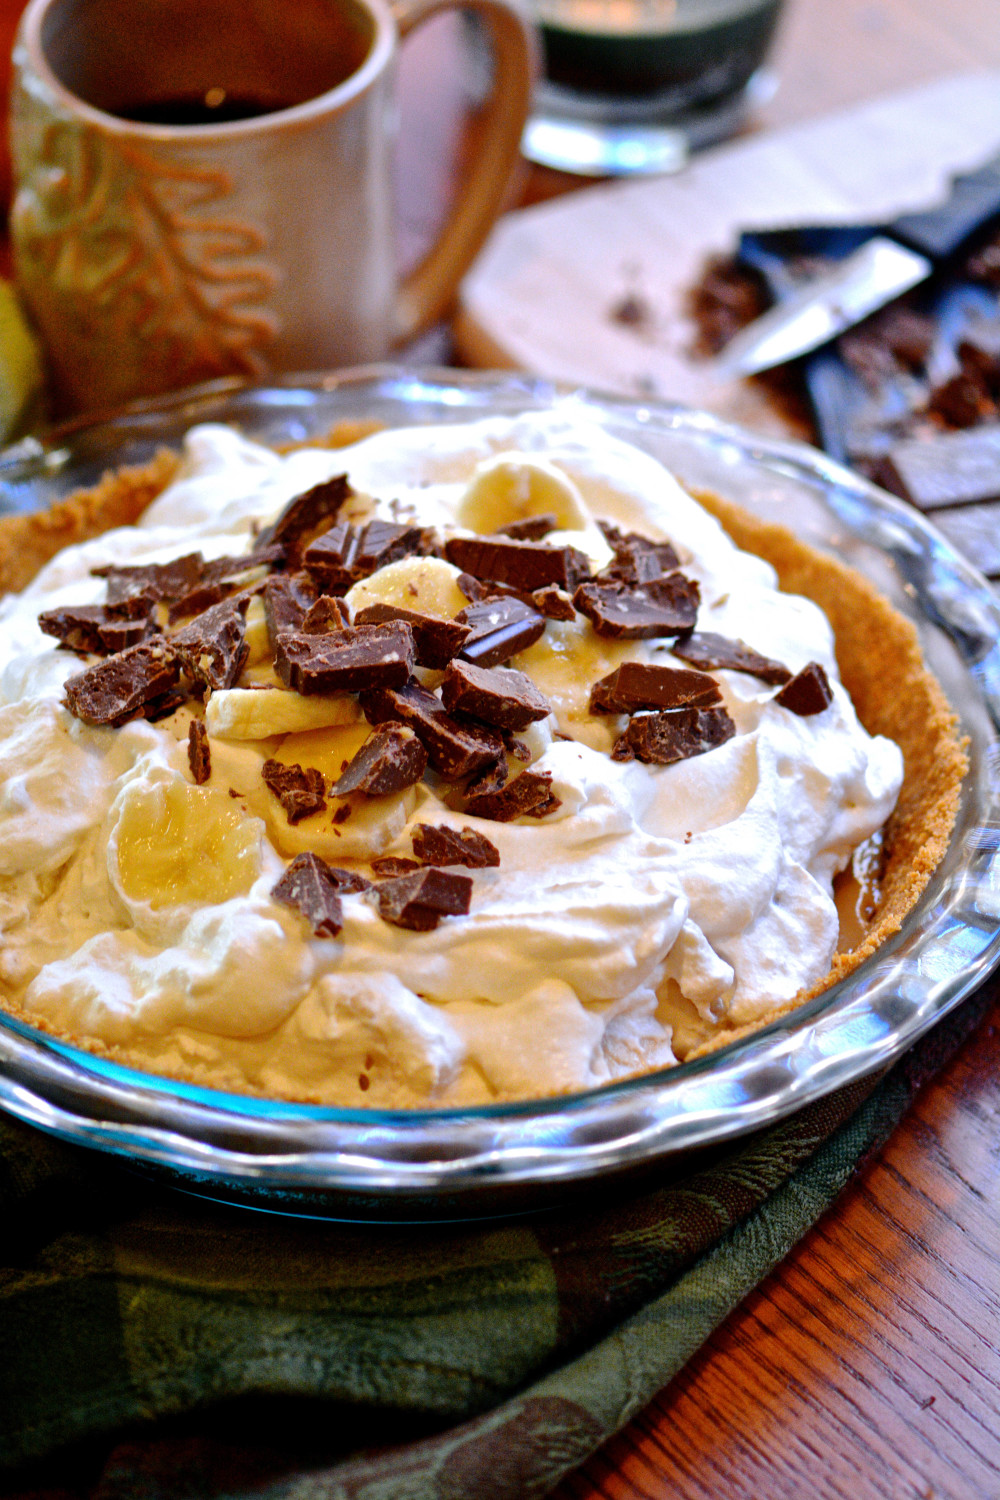
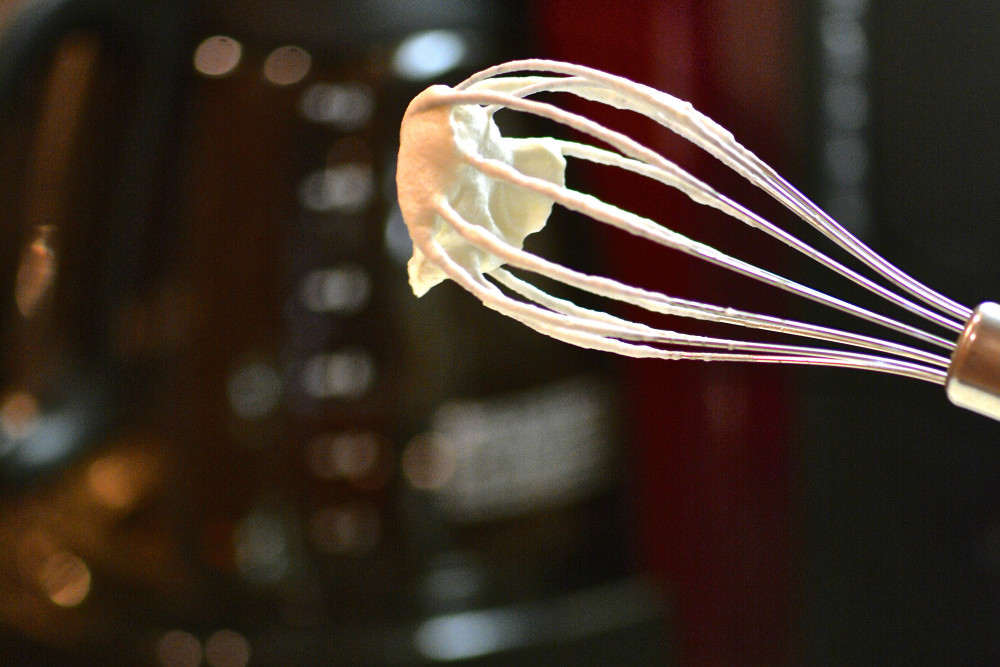
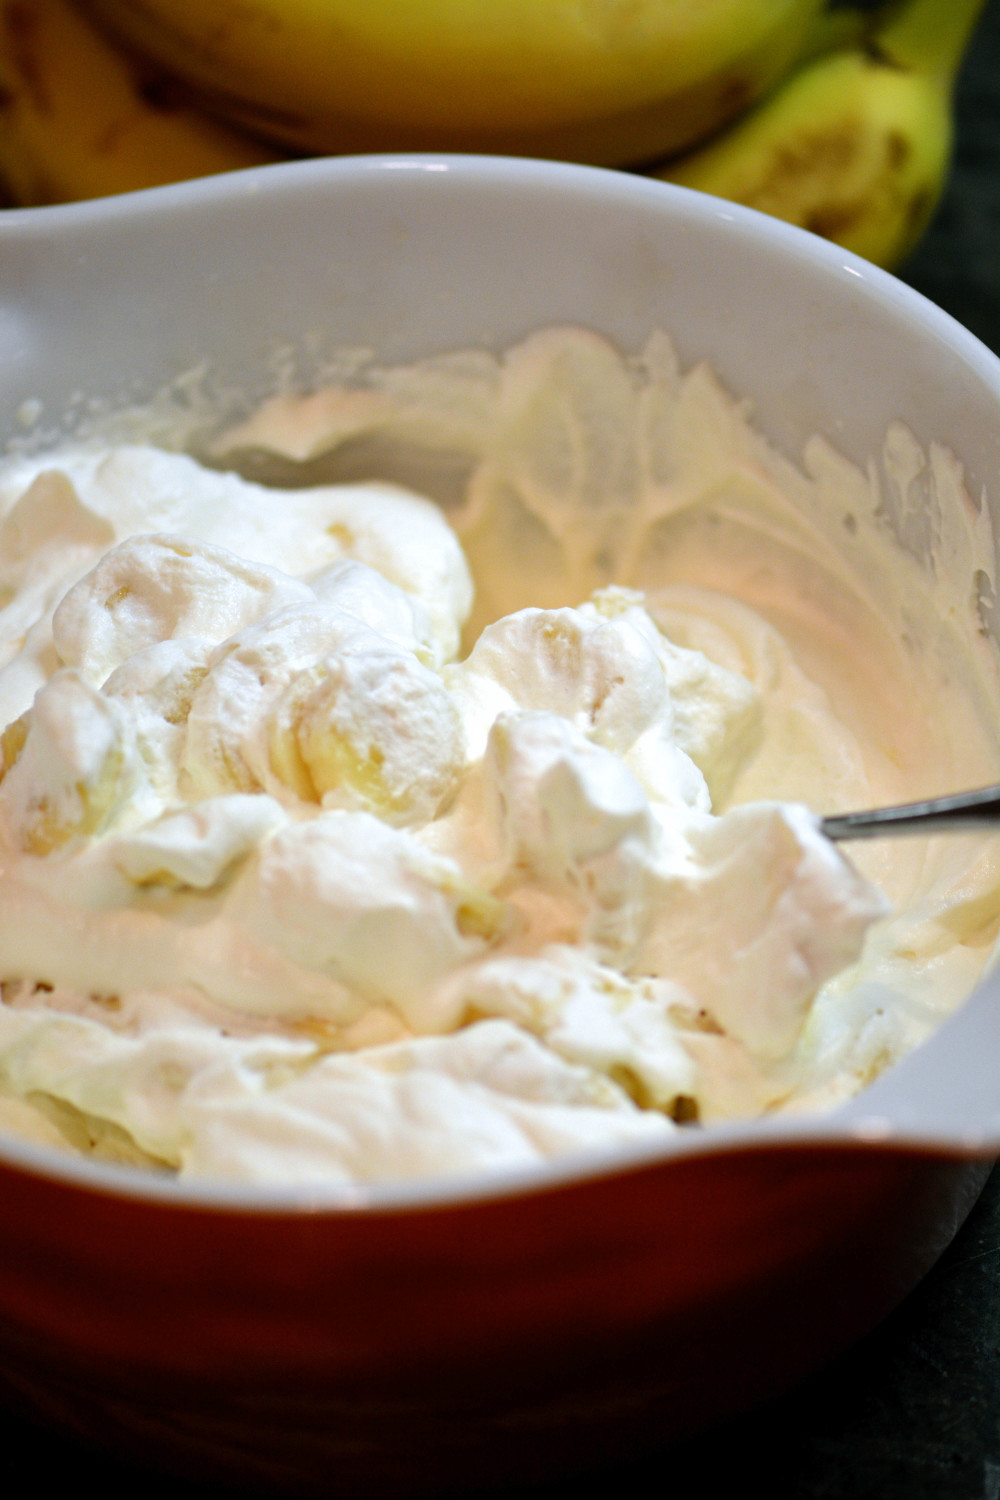
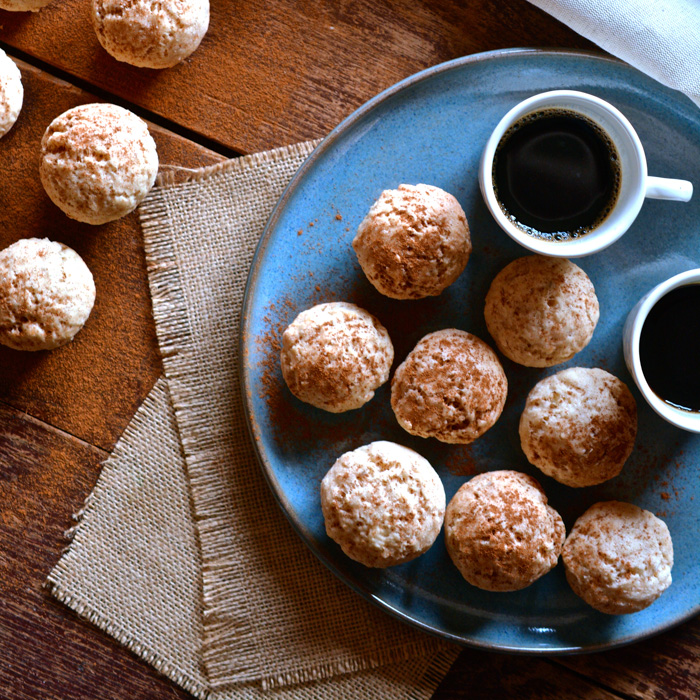
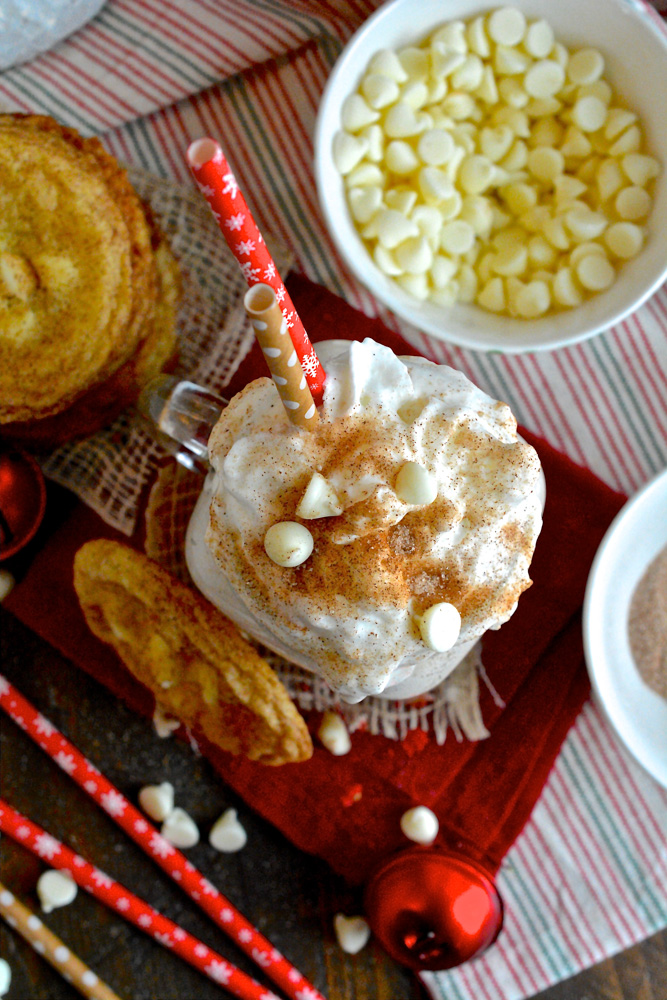
Oh…and about that ‘milk moustache’…I have just the thing! Look at all that yummy whipped cream…
Buon Appetito!
Print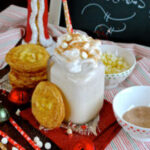
White Chocolate Snickerdoodle Milkshake
- Category: Dessert
Ingredients
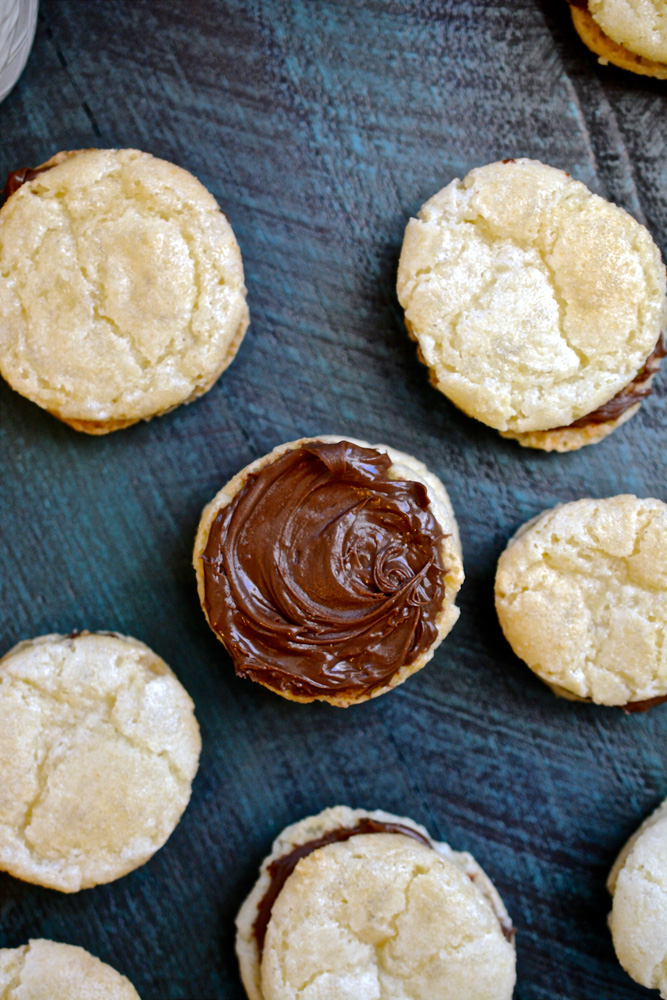
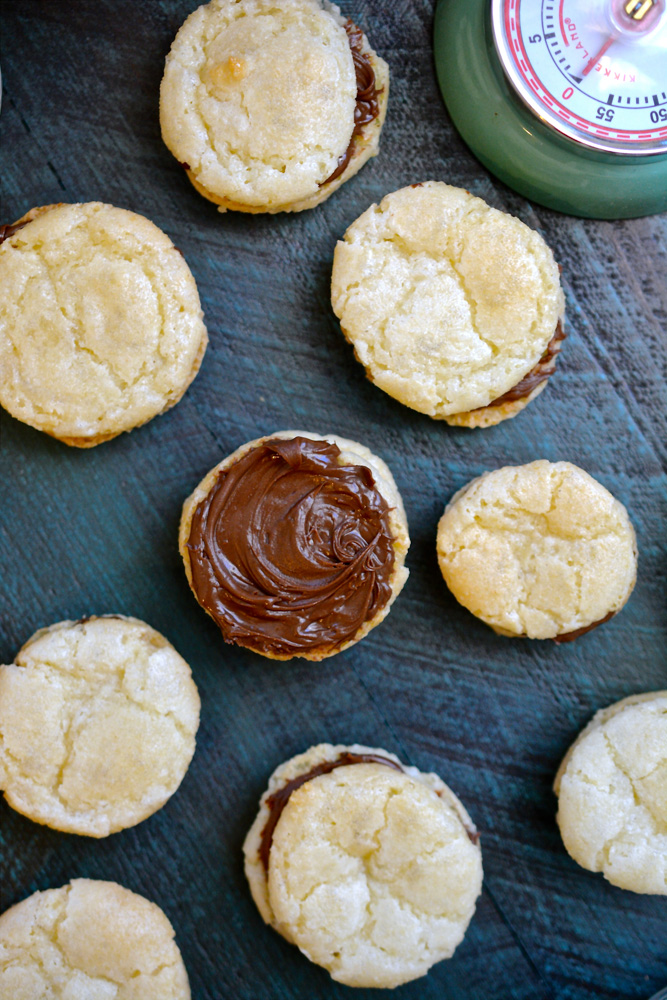
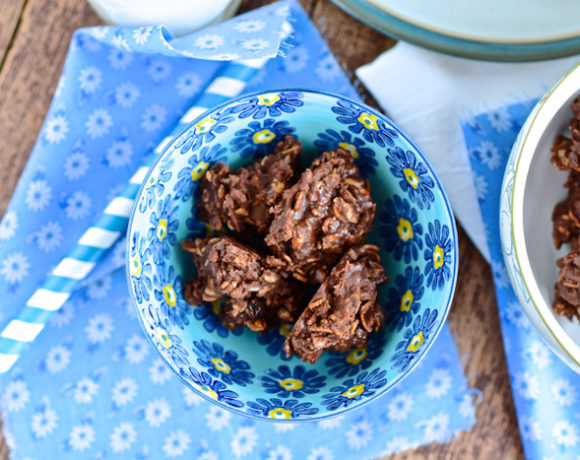
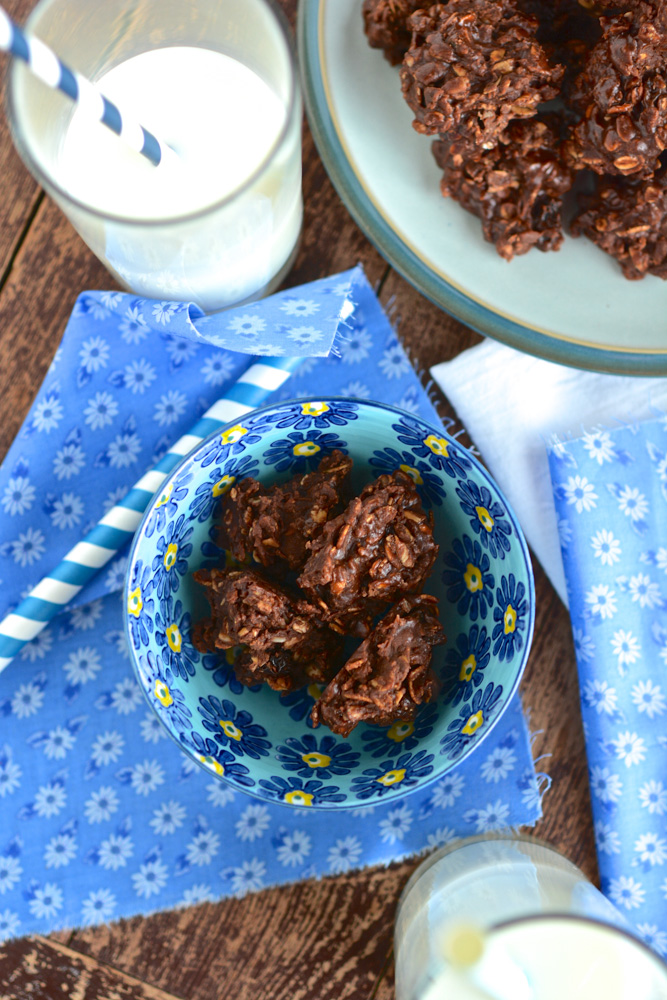
- White Chocolate Snickerdoodles
- 2 cups all-purpose flour
- 2 tsp. cream of tartar
- 1/4 tsp. salt
- 1 cup unsalted butter, softened
- 1 1/2 cups sugar
- 2 large eggs
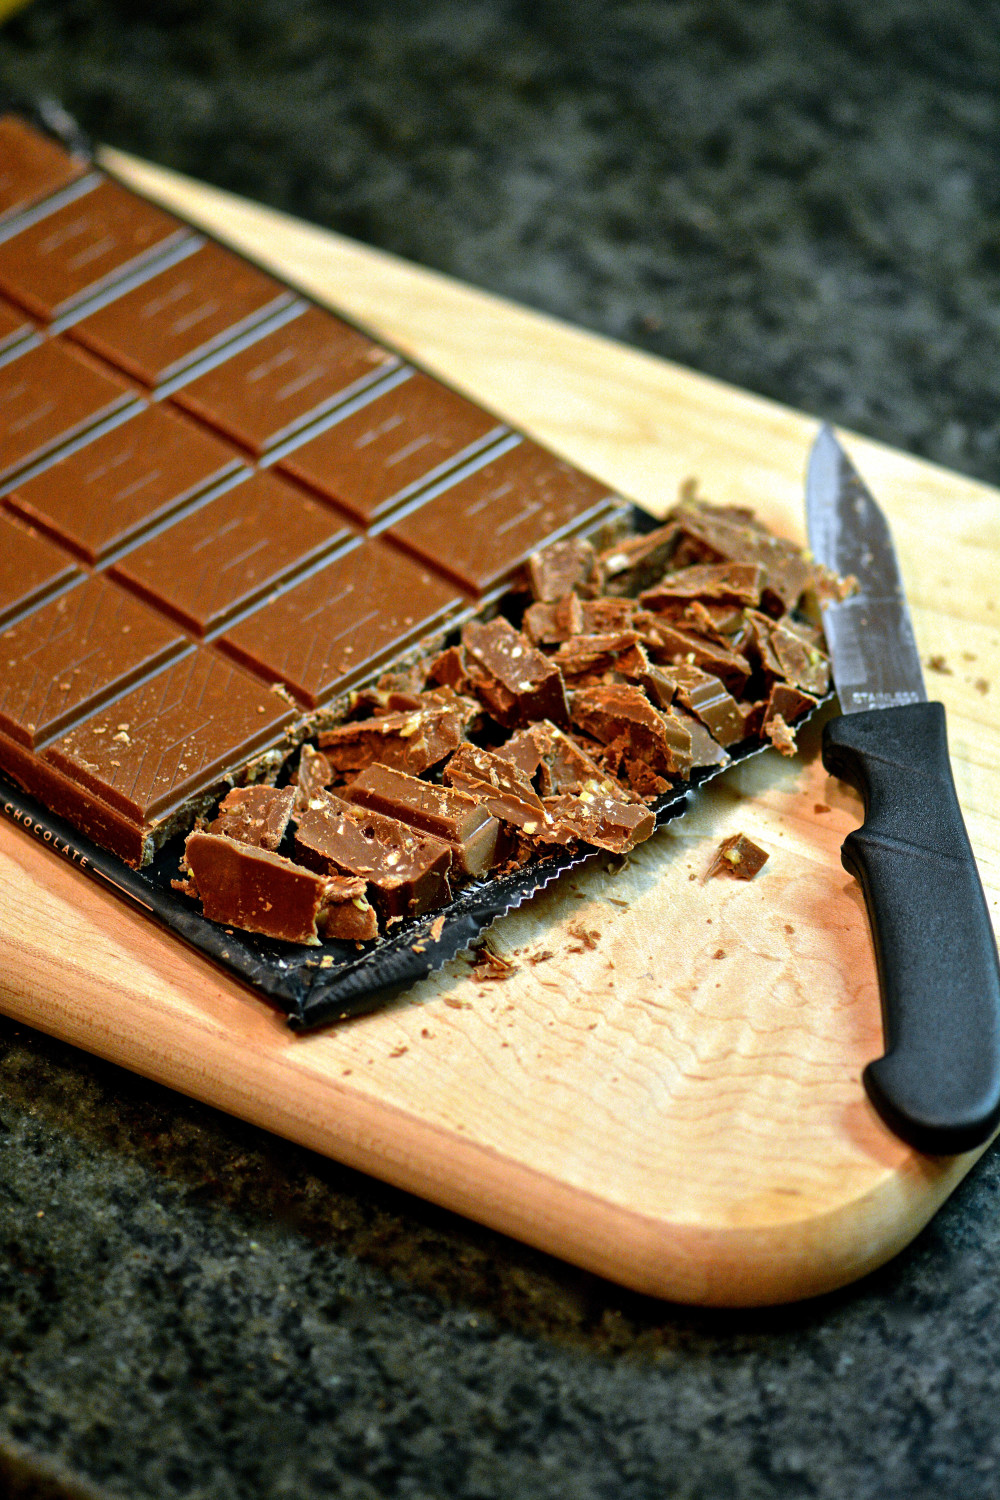
- 1 cup white chocolate chips
- 1/4 cup sugar
- 4 tsps. cinnamon
- Milkshake
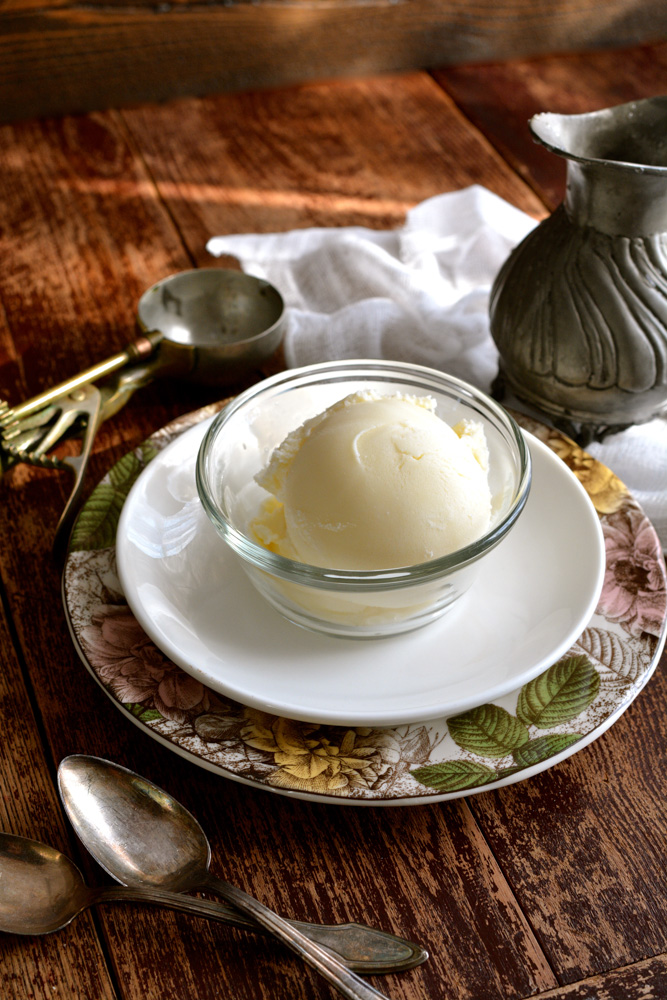
- 2 cups Vanilla ice cream
- 4 homemade cookies made with white chocolate chips
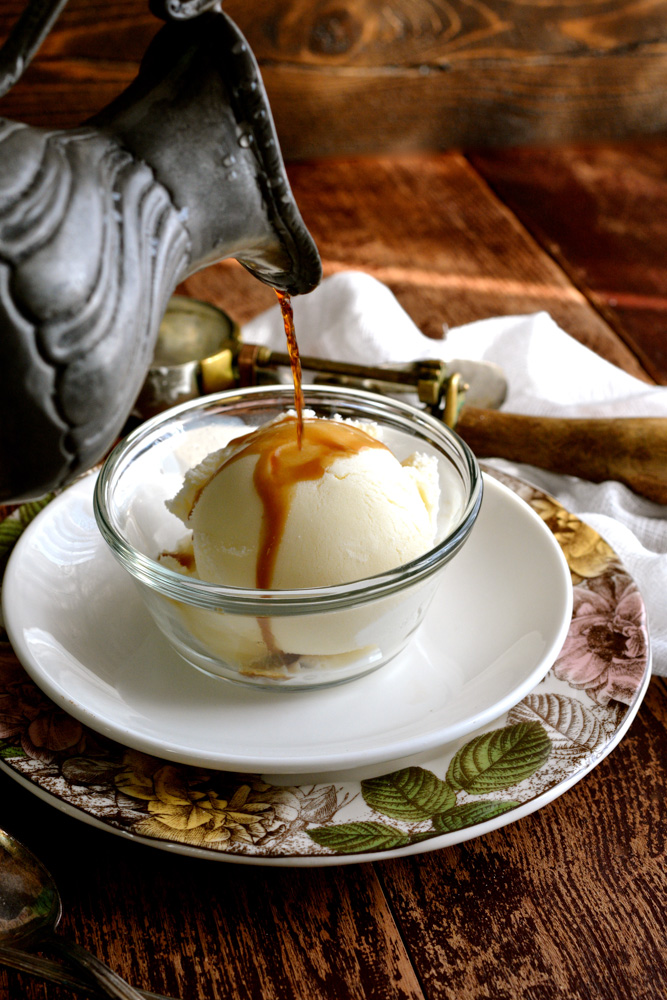
- 1 cup whole milk
- Whipped Cream Topping (aerosol can)
- Cinnamon sugar and white chocolate chips to garnish
Instructions
- Preheat oven to 350 F and grease two cookie sheets.
- For the cookies, sift together flour, cream of tartar and 1/4 tsp. salt.
- Using an electric mixer, beat together until well blended, softened butter and 1 1/2 cups sugar.
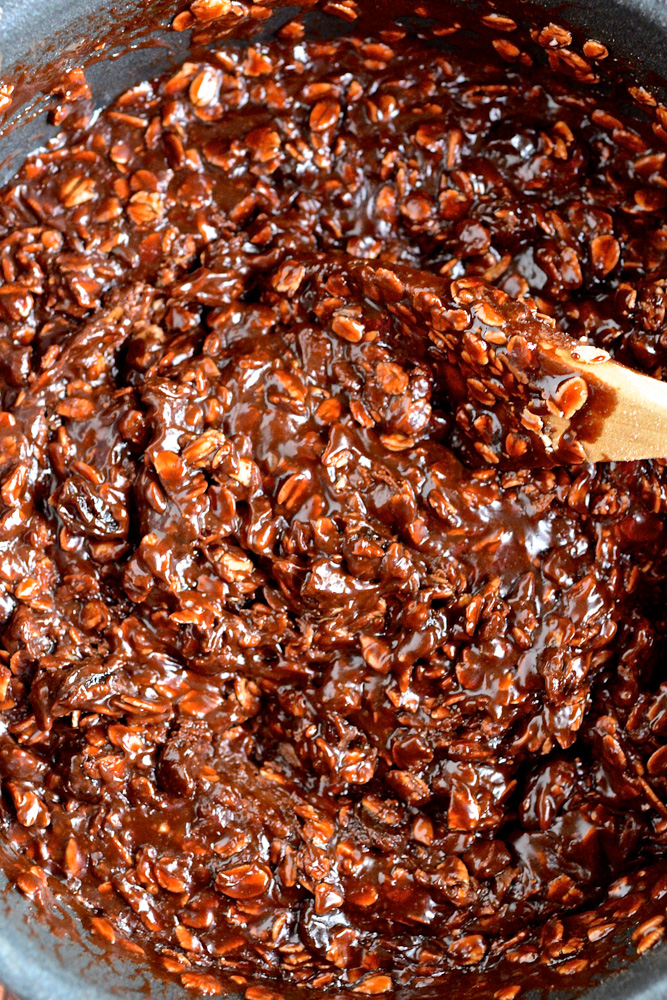
- Add and continue beating until well blended and smooth, 2 large eggs and white chocolate chips.
- Beat flour mixture into butter mixture until smoothly incorporated.
- Pull off pieces of dough and roll between the palms to form generous 1 inch balls.
- Combine cinnamon and sugar then roll cookies in the mixture.
- Space cookies about 2 inches apart on prepared sheets.
- Bake one pan at a time in upper 1/3 of the oven for roughly 10 minutes, or until cookies are light golden brown around the edges.
- Transfer sheets to wire racks and let stand until cookies firm up slightly, 1 to 2 minutes.
- Transfer cookies to wire racks and cool thoroughly.
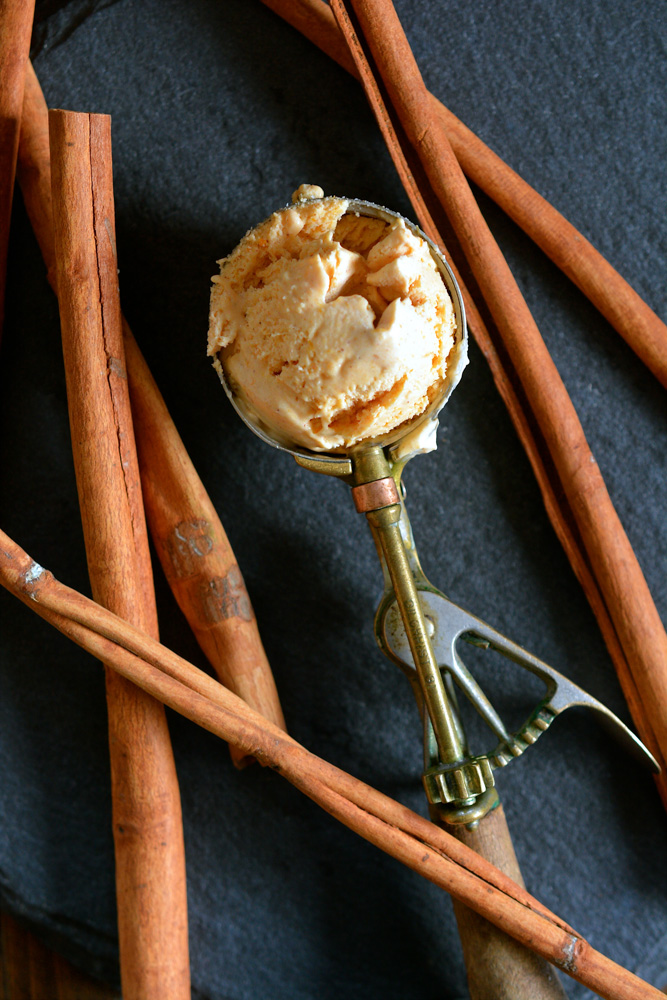
- Once cooled thoroughly, prepare milkshakes.
- Combine 2 cups vanilla ice cream with 1 cup milk and 4 cookies.
- Blend until smooth.
- Pour milkshake into prepared glass.
- Top with whipped cream, cinnamon sugar and white chocolate chips.
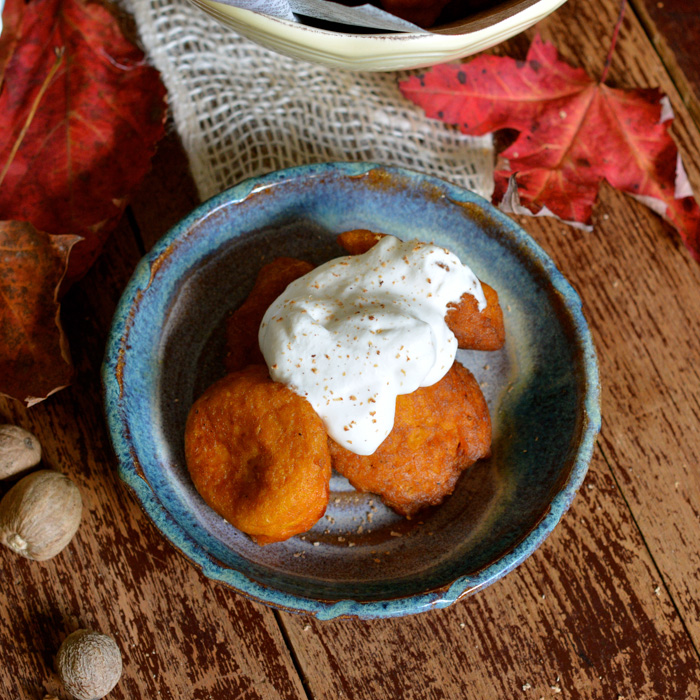
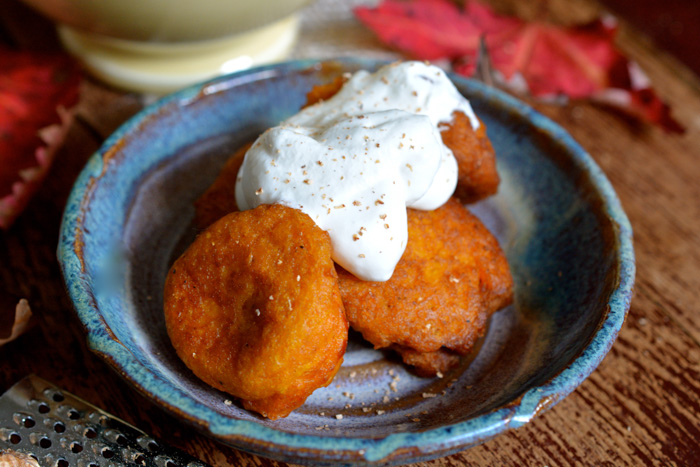
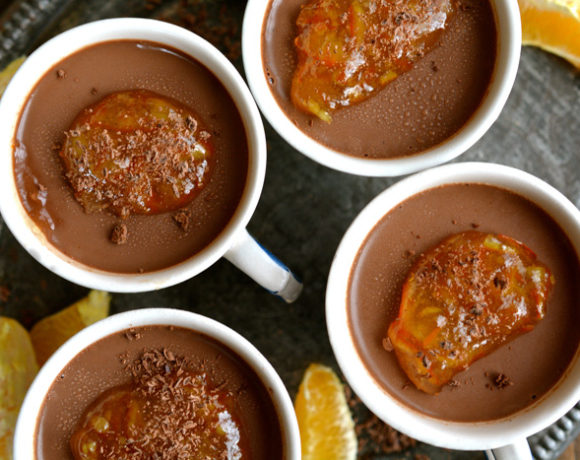
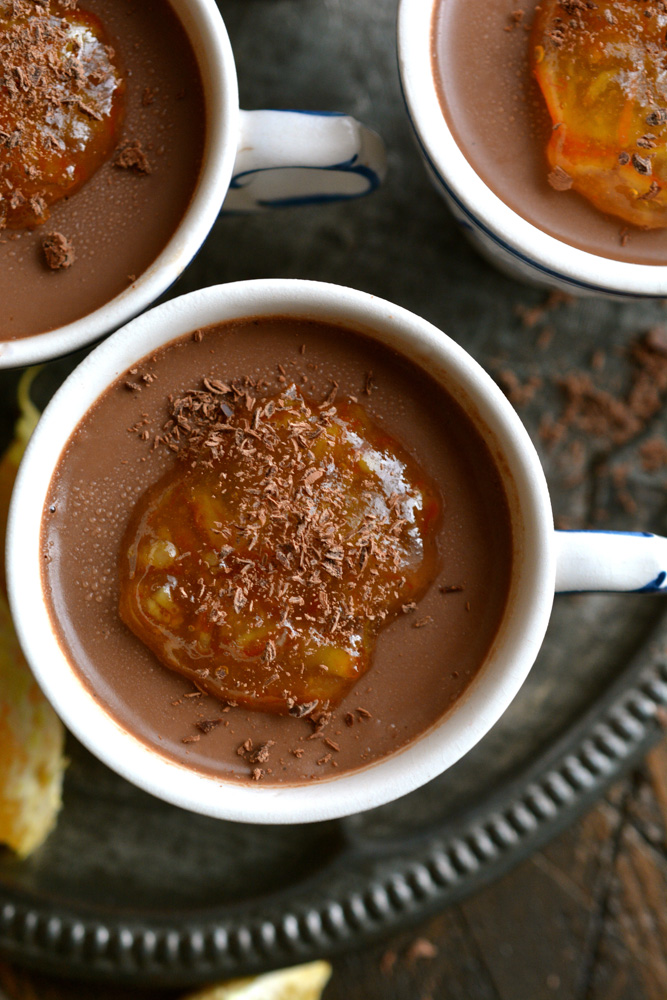
Be sure to check out the other fabulous recipes being shared as part of the #GiveAGallon campaign with American Dairy Association and Dairy Council!
Slow Cooker Snowflake Hot Chocolate, Wishes and Dishes
Christmas Morning Muffins, Running to the Kitchen
Savory Coeur la Crème with Cranberry, Hungry Couple NYC
White Hot Chocolate, Courtney’s Sweets
Eggnog Muffins, Lauren Kelly Nutrition
Mini Cheddar Ranch Cheese Ball Bites, Mother Thyme
Blueberry Pomegranate Smoothie, It’s a Keeper
Eggnog Dutch Baby, Nutmeg Nanny
Hope to see you at the Twitter party on Thursday!
Ciao!
Disclosure: This is a sponsored post written on behalf of the ADADC. The opinions and text are all mine.